
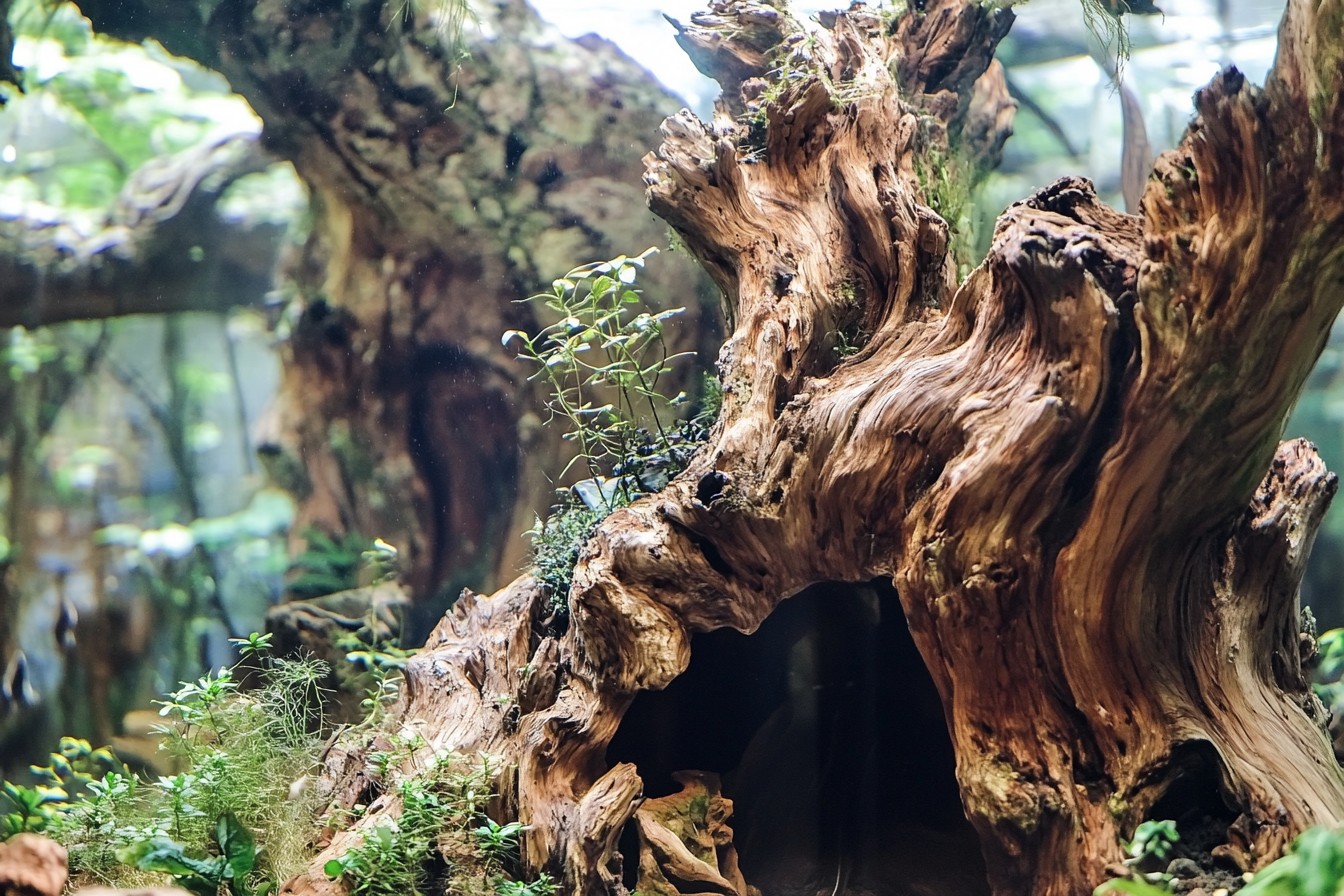
There was a time I spent three non-consecutive days arranging a single piece of driftwood. As absurd as this sounds, I picked it up and turned it, placed it in the tank, filled the tank with water, viewed how it looked submerged, drained it, and then started from the beginning… and repeated the process. My roommate at the time thought I had lost it; It’s just a stick,” he said mid-way through my routine with the driftwood. But to any aquarium enthusiast, a stick is the backbone of an underwater landscape.
Creating a planted aquarium has its challenges and no ideal strategy to go about it. I wish the method for every aquarium was simply, put this rock here, this plant there, and it would instantly become an underwater paradise. Here, there are guidelines to follow, but it’s mostly improvisation. With all the water I’ve flooded in apartments and expensive plants I’ve bought, there is a plethora of information worth sharing.
Let’s get one thing straight: no thinking of fish or plants at this point. Elements such as wood, rocks and other nonliving items that aid in creating structure are referred to as hardscape. They also serve as the foundation of any good aquascape design. I still remember the days when I would spend my entire savings on rare Bucephalandra species, only to realize that none of the items I purchased had the right space to attach them to. Nowadays, my process begins with empty tanks and stacks of materials that I keep in my living room. I find that putting on some music and drinking coffee, even if it gets cold, helps me think better.
Beginners often have difficulty devising the right aquascape. That’s why I recommend focusing on one type of hardscape material at a time, whether it be rocks or wood. The mistake I made in my first aquascaping project was using smooth river stones, jagged lava rock and white quartz. These rocks did not blend seamlessly with one another, and so they wasted a whole set of my building blocks. If you choose to go with rocks, make sure to find some with a similar texture and color because blending several styles is akin to trying to play two instruments all at once.
When placing objects, forget about any textbook placement formulas such as the golden ratio and rule of thirds. Striving for a certain depth is more useful. My most successful tanks disregard many of the principles taught in basic aquascaping courses. While most aquariums are 12-18 inches deep, a well done hardscape can create the illusion of greater depth. I start building with the smaller, more intricate pieces at the front and progressively stack outwards towards the back with larger and simpler objects.
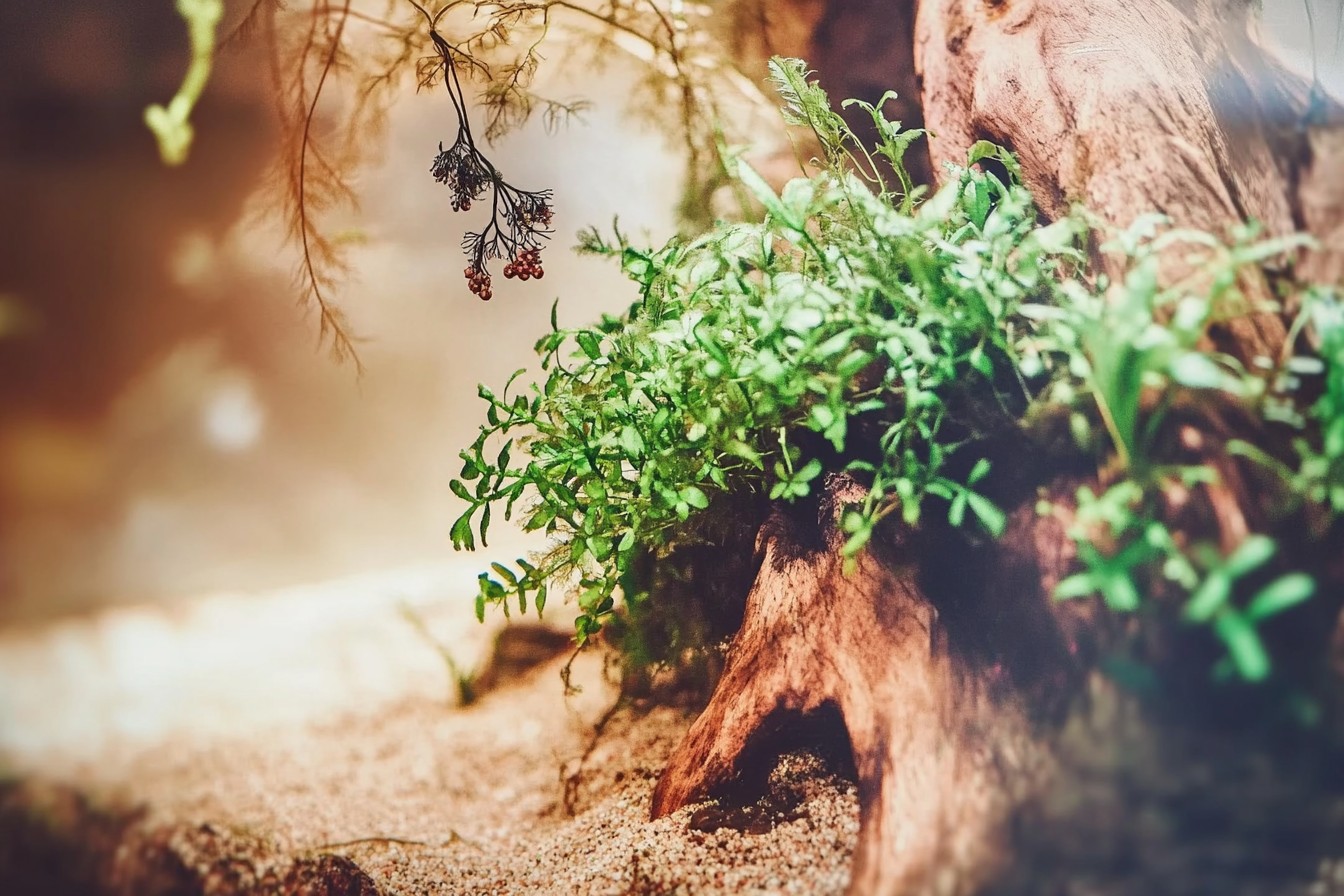
Selecting the correct substrate comes next, and it has to fulfill more than just functional requirements. As mentioned, substrate is not just dirt. The ideal substrate compliments the aquascape and fulfills practical filtration and root needs. While dark substrates make colors pop, they show dirt easily, as I learned while preparing my display tank for a magazine shoot. To create a more inviting atmosphere, light substrates can be used, but they risk diminishing the vibrance of certain fish. In contrast, for most planted tanks, I utilize enhanced planting substrate topped off with a decorative layer. Remember that plants do tend to have varying root feeding needs, where some predominantly suck up nutrients through the water column.
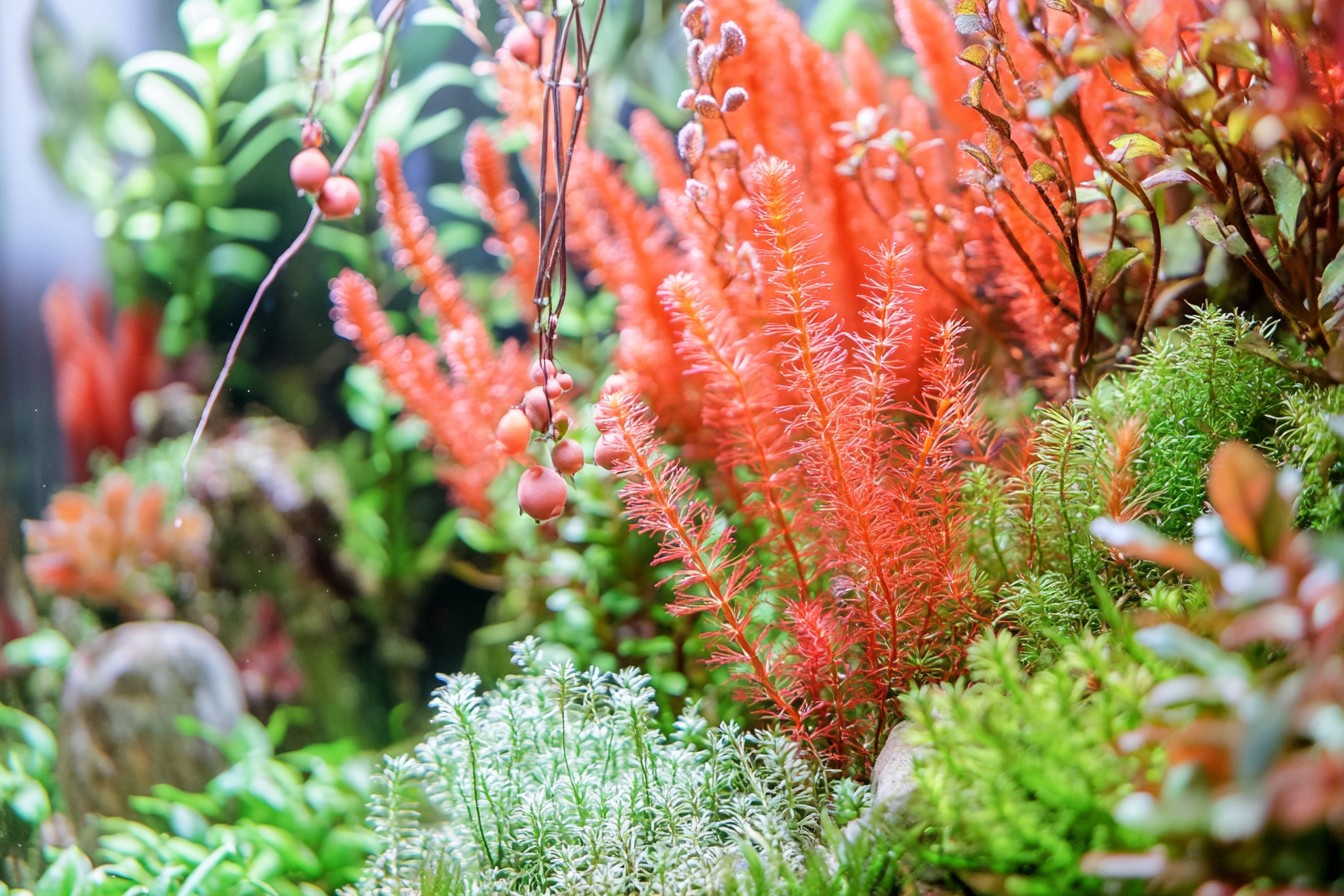
This last section talks about the plants, and I am willing to bet this is where most beginners go wrong. The secret isn’t seeking the most rare species; it is choosing the plants that will do well under your particular conditions. Like most good horticulturists, I keep a notebook (okay, fine, it’s a spreadsheet) documenting all the plant species I have grown including their requirements and growth patterns. As per personal experience, it is rather embarrassing how many times I have tried growing high-light plants in low-light setups simply because I fell in love with their appearance at the store.
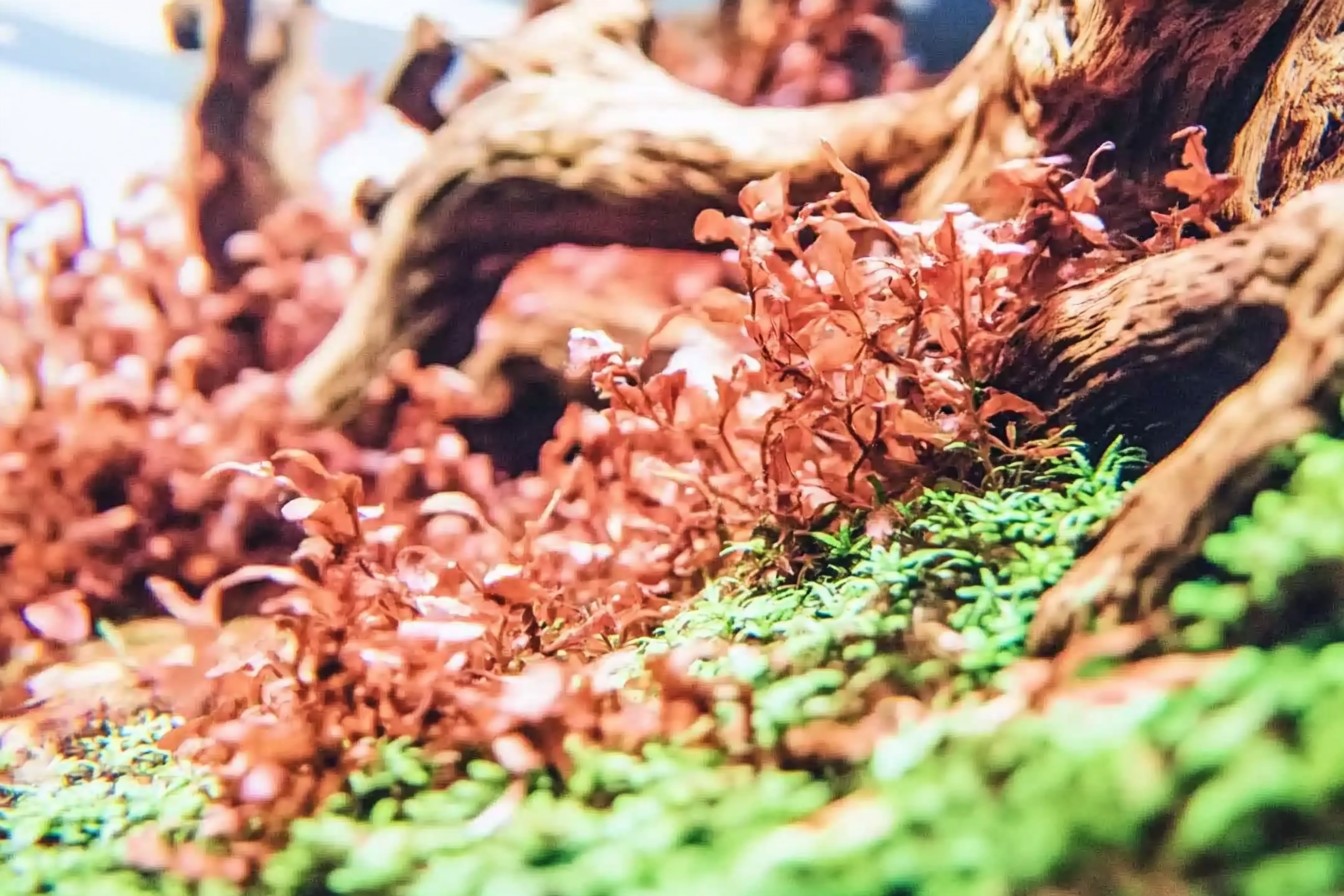
However, you should think in terms of layers: for the foreground, you should start with carpet plants; mid-height plants for the middle ground; and tall stem plants or large-leaved species for the background. But do not be too rigid. Some of my favorite tanks include tall plants in the foreground as a deliberate rule-breaking focal point.
When placing the plants, do not give in to the temptation of spreading individual stems evenly throughout the tank. Doing so is, in my opinion, one of the greatest mistakes anyone can make. Plants in the wilderness are grouped together in a thicket like suspended plants instead of in the cornfield arranged in crisscross fashion. I plant thickets densely and let them disguise themselves into looking for patches which allows me to create more visual depth in the tank. Not only does this look more organic, but it also makes maintenance easier since different species often require different pruning techniques.
On the subject of upkeep, let’s not mince words. The immaculate tanks which you see in competitions and magazines – tank showcases, are not something which you would see on a daily basis. My award-winning 60 gallon planted tank (and my pride and joy) looked Instagram-worthy for the first time after undergoing an 8 hour maintenance binge in preparation for a competition and was meticulously gussied up the day after. The rest of the time it’s somewhere between ‘Instagram-worthy’ and ‘tank showcases’ – It’s stuck between having algae on the glass, some yellowing leaves, and equipment that I had hastily hidden behind plants. Such is the grueling, yet beautiful reality of a planted tank. Transforming a dream into reality requires consistent attention!
Rotating and changing water on the tank is good practice. I do 50% weekly changes on most of my planted tanks while trimming yellow leaves, weeds, and generally cleaning the glass. In a way, it’s strangely introspective. It’s just me, some cleaning tools, and my cats who think it’s a good sport to attempt to drink from the fish-eye tube, a habit which they have yet to break despite keeping them thoroughly soaked.Lighting encompasses both artistry and technology. There is a balance that must be maintained as inadequate lighting would be detrimental and excess light would be counterproductive (growing algae). My typical starting point for a light period is in the middle; between six to seven hours. I then adapt it considering the response of the plants, algae growth, and tank feedback. Surprising as it may sound, some of my most successful systems function on peculiar schedules like my office nano tank that only receives 4 hours of light, split into two bursts with a respite period in the middle.
Alongside many other factors, CO2 can completely change the setup and is frequently disregarded by many beginners. While stunning tanks exist without supplemental CO2, adding it expands your plant options exponentially. I remember trying to take the DIY approach by building a yeast reactor CO2 system, but ended up exploding it and filling my apartment with the smell of spoiled fermentation gone wrong. Now, I have learned the ropes of appropriate equipment and now use pressurized systems with proper regulators and solenoids.
To me, every problem has a solution. A three year battle with black brush algae in my Dutch styled aquarium tends to feel like an endless fight. But the truth is, it’s not about finding a perfect solution, especially as perfection is a myth endless struggle means.
What captivates me about planted aquascaping is that it can never be truly completed. An aquascape is not a painting that can be hung up, as it will always be growing, changing, and responding to ones care. The tank I set up last spring looks nothing like my original vision – it has evolved as some plants flourished while others struggled. I have decided to embrace this alteration rather than fight it.
In my opinion, if you are starting out, my best advice is start small, have patience, and document everything. My best educated tank was a 5 gallon one that taught me more about the requirements of plants than any book could. Be sure to take pictures weekly, make notes on what works, and what does not work, and be bold enough to tear everything down to start anew. Every single great aquascaper I know has more failed tanks in their past than successful ones.
Setting up a planted aquarium is not just about planting and adding hardscape features, but rather building an ecosystem that thrives in the harmonious bidirectional systems of chaos and order. The magic of these aquariums manifests when you can sit in a dark room and watch sunlight filter through trees as fish swim and dance throughout the tank. and bask in the tranquility of knowing you did this. Only you could conjure up such a beautiful piece of nature, even if you’re the one who spent three days aligning a stick.


