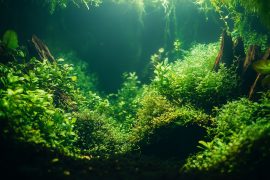
I’ve always had a thing for cube tanks. There’s something uniquely satisfying about their perfect symmetry—like a little glass box of possibilities sitting on your desk or counter. My first cube was a disaster though.
God, what a mess. I crammed that poor 10-gallon with so many plants and rocks it looked like an underwater garage sale. The fish could barely swim through it, and I’m pretty sure my cardinal tetras formed a support group for confined spaces.
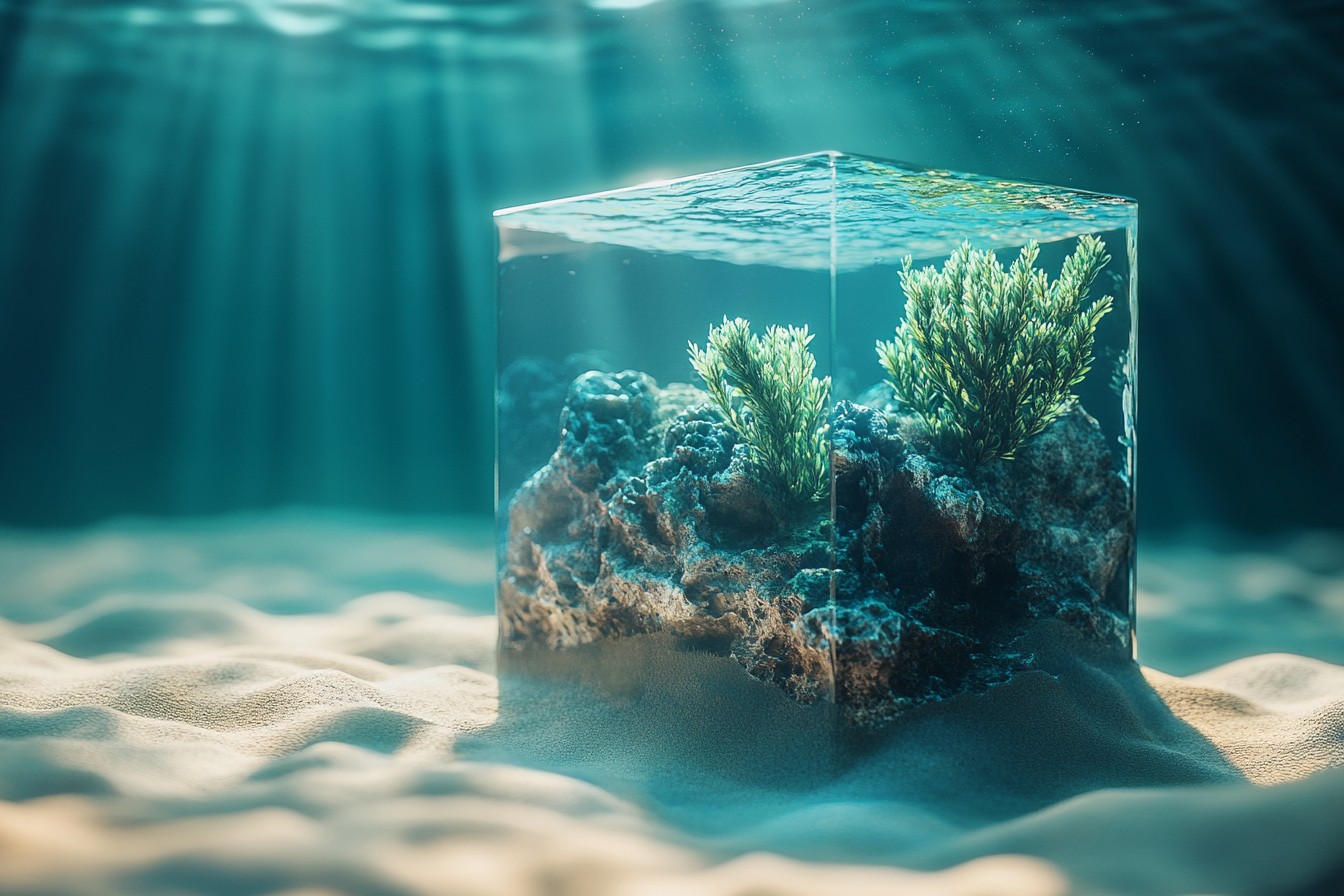
But that was years ago, and after countless water-soaked sleeves and more than a few flooded countertops, I’ve developed what I’d like to think is a respectable approach to these compact little universes. The 20-gallon cube, in particular, has become my favorite canvas. Not too small that you’re limited, not so large that it dominates the room.
It’s just right—the aquatic equivalent of Goldilocks’ porridge. Last month, my client Janet asked me to set up a cube for her doctor’s office waiting room. “Something peaceful,” she said, “but interesting enough that patients forget they’re waiting for potentially terrible news.” No pressure there.
But it got me thinking about all the little tricks I’ve collected over the years, the stuff that makes cube tanks work when they really shouldn’t. First thing—you gotta throw the traditional rules out the window. Those aquascaping ratios and golden mean placements that work in standard tanks?
They’ll make your cube look like a math experiment gone wrong. Cubes need their own logic. I start with the hardscape, always.
And I’ve learned—through spectacular failure involving a $200 piece of dragon stone and what my girlfriend at the time called “the great living room flood of 2018″—that you need to build your hardscape OUTSIDE the tank first. Seems obvious now, but tell that to younger me who was fishing shards of rock and glass out of the carpet at 2 AM. For Janet’s tank, I gathered about fifteen pieces of seiryu stone, ranging from fist-sized to as small as a grape.
The trick with cubes is creating the illusion of depth in a space that… well, doesn’t have much. I arranged the stones in my driveway first, stacking and restacking until I had what looked like a miniature mountain range with a winding path through the center.
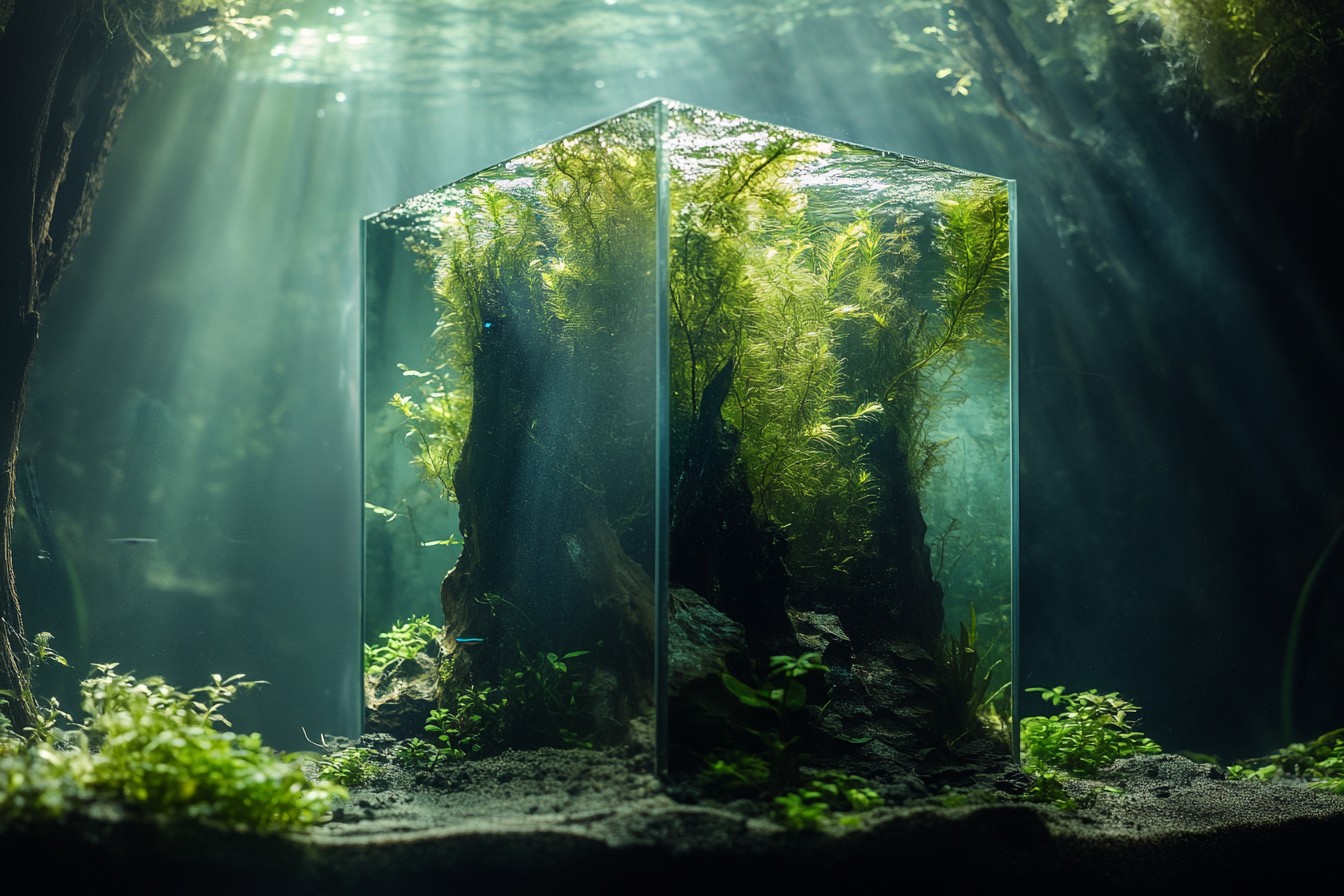
The “backbone technique” is what I call it now. One large stone serves as the anchor point, usually placed about two-thirds back from the front glass and slightly off-center. Then smaller stones cascade forward, creating the illusion that they’ve tumbled naturally from the larger formation.
This gives you instant depth perception, tricking the eye into seeing more space than actually exists. Water flow is something most folks don’t think enough about with cubes. Their shape creates weird dead spots in the corners where debris collects like teenagers at a mall.
For Janet’s tank, I hid a small powerhead behind the main stone formation, angled to create a gentle circular current. Not enough to turn the tank into a washing machine—just sufficient to keep detritus from settling and making the water look cloudy three days after a water change. Now let’s talk substrate.
I used to go nuts with elaborate layered substrates—five different grain sizes, special nutrient capsules, the works. Totally unnecessary in most cases. For Janet’s tank, I kept it simple with a nutrient-rich base layer capped with fine black sand.
Slopes matter more than composition in cubes. I built up the substrate to almost four inches in the back corners while keeping it under an inch at the front. This does two things: creates more planting depth where you need it and enhances that sense of perspective.
Speaking of planting—this is where restraint comes in, which isn’t my natural state. I once put seventeen species of plants in a 5-gallon. It looked like a jungle having an identity crisis.
For Janet’s tank, I limited myself to just five species, but used them thoughtfully. Microsorum pteropus ‘Trident’ (a fern with narrow leaf divisions) went onto the rocks using fishing line that I’ll snip away once the roots attach. It creates these beautiful soft textures that contrast with the harsh lines of the stone.
In the background corners, I planted groups of Rotala rotundifolia—the kind that turns this gorgeous sunset red under good light. A carpet of Marsilea hirsuta in the foreground gives the illusion of a grassy plain. Between the stones, little tufts of Blyxa japonica provide mid-level interest without blocking sightlines.
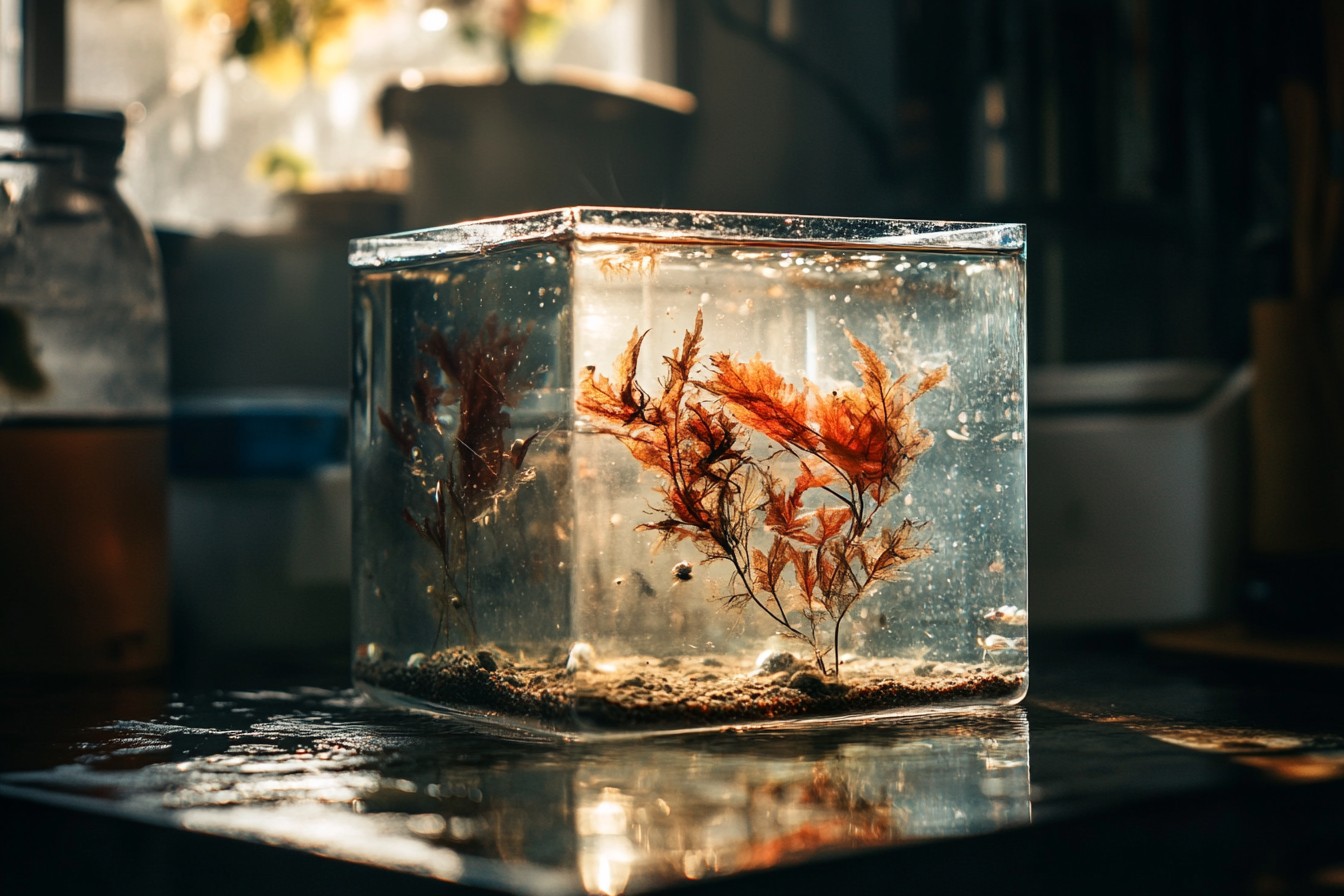
And then my secret weapon: Bucephalandra. These slow-growing little gems have these iridescent blue-purple leaves that catch the light in ways that photographs never quite capture. I attached tiny portions between rocks where they’ll get noticed but not overwhelmed.
They’re expensive as hell, but worth every penny for the dimension they add. Lighting cubes properly is tricky business. Standard lights create hot spots in the center and leave the corners dim.
After years of frustration, I’ve settled on using two smaller lights rather than one larger one, positioned toward the front of the tank rather than dead center. For Janet’s tank, I used a pair of ONF Flat Nanos, which give this crisp, almost sunlight-quality light without the algae farm that most LEDs create. The real magic with cube tanks happens about three weeks in, once everything settles.
That first week is always nerve-wracking—cloudy water, plants melting as they adjust, the whole setup looking like a terrible mistake. I’ve learned to be patient, which if you knew me, would make you laugh out loud. My girlfriend says watching me wait for a tank to cycle is like watching someone try not to scratch a mosquito bite.
For fish, I kept it deliberately minimal in Janet’s tank. A school of 12 ember tetras—tiny fish with the color of burning coals—and a handful of blue dream shrimp that pop against the black sand. The temptation is always to overstock, but negative space is what makes these compositions breathe.
Six weeks after setup, Janet called me. “The weird thing is,” she said, “patients are arriving early for their appointments now.” Apparently, the tank had become something of a local attraction, with people spending extra time in the waiting room just watching the little ember tetras weave between the stones and plants. The office manager had started keeping a notebook of tank-related questions she couldn’t answer, which Janet would email to me each Friday.
That’s the thing about these aquatic little worlds we create—they reach people in ways you can’t anticipate. I’ve had corporate clients with million-dollar budgets, but Janet’s modest waiting room cube might be one of my favorite creations. It’s not perfect—the Rotala’s still growing in unevenly, and I’ve spotted some thread algae starting on the rocks that I’ll need to address on my next maintenance visit.
But it has that indefinable something that makes people pause, that pulls them out of their worries for a few moments. And really, isn’t that the whole point of this obsession of ours? Creating something that reminds us, even briefly, that there are entire worlds happening just beneath the surface, if only we take the time to look.

