
I still remember the first time I saw an aquatic bonsai. Wow, it must’ve been…2016, or 2017? One of those international aquascaping competitions in Singapore. I had been wandering between displays all morning, and honestly, they were starting to blur together. “Mountainscape with carpet plants” for the fifteenth time got to me.
I then turned a corner and BANG! Stopped dead in my tracks. Almost spilled my lukewarm coffee all over some poor guy’s shoes.
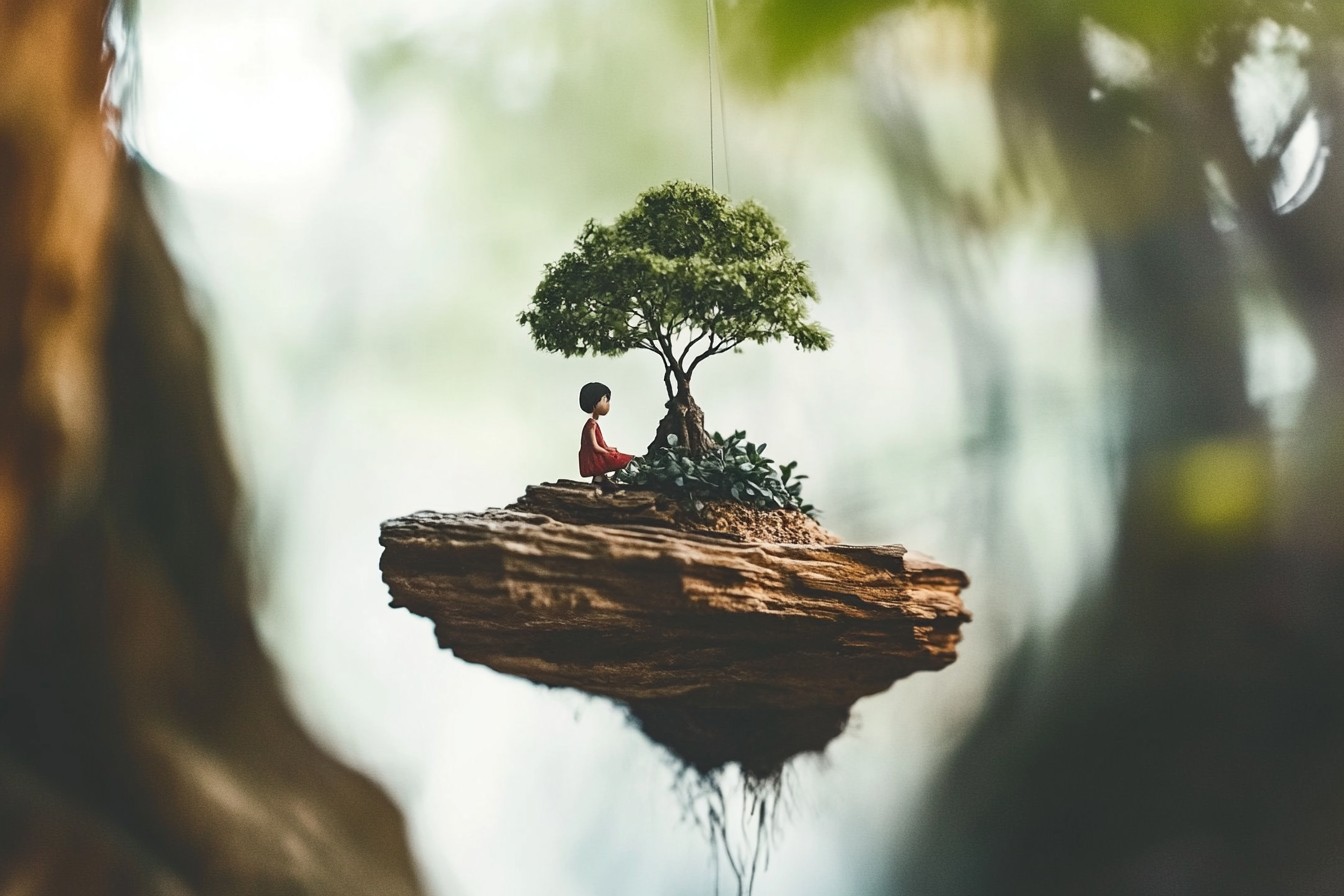
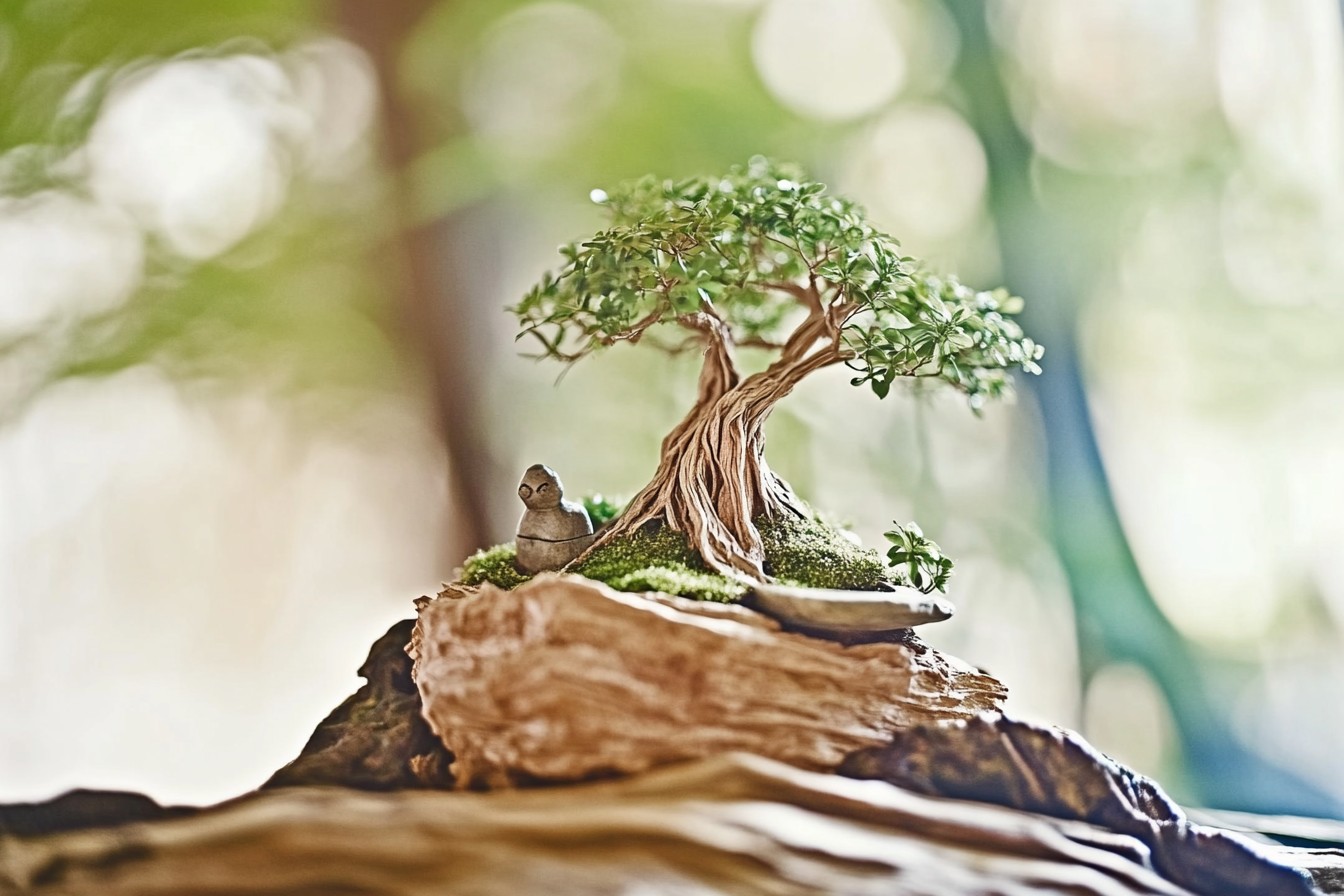
In this unassuming 12-gallon long tank, there was what looked like a miniature tree growing underwater and to my amazement, its little branches reached up through the water. The creator had somehow gotten pearl weed to grow in these perfect little bubble-shaped clumps that looked EXACTLY like the foliage of a maple tree. The “trunk” was this twisted piece of spider wood that seriously looked like it had been shaped by decades of wind and weather. To my surprise, the setup was only four months old, FOUR MONTHS!
I must’ve stood there gawking for, god knows how long, fifteen minutes? I completely blocked foot traffic until the creator—an incredibly quiet Japanese gentleman called Hiroshi—tapped me on the shoulder and wondering if I had questions.
All I could say was, “How?” In response, he had a good laugh and invited me for coffee with the intent to enlighten me.
That afternoon was pivotal in the way I understood aquascaping. I was trying to construct entire landscapes, when what I actually needed was a single point of emphasis. Turns out I was over complicating things. The aquatic bonsai technique, or aquabonsai to some—I’ll admit it’s catchy—has quickly turned into my favorite style to teach.
Underwater trees may look daunting. Patience is the one and only skill required. In fact, I have taught dozens of beginners who, on their first attempt, created jaw dropping pieces. It isn’t about having a unique technique; it is about calming down, and doing what bonsai masters do—think.
My first attempt was… well, a disaster. To put it mildly, it looked less like an ancient miniature tree and more like a stick with moss hurled into a fish tank. The proportions were completely off, which, if you know anything about bonsai, is a capital sin. If you ever tried to make a miniature tree, the relationship between trunk thickness, height, and canopy spread is everything.
I’d picked this gorgeous piece of manzanita wood with a beautiful natural curve, but totally failed to consider how it would look once partially buried in substrate. That was a rookie mistake. But the ‘canopy’ portion I used—java moss—grew in patches instead of the lush crown I envisioned. And don’t get me started on my attempts at portraying exposed “roots” using cotton thread and fishing line. My then-girlfriend looked at them and said the tree looked like it was having a bad hair day. Underwater. As infuriating as that is, she was pretty right.
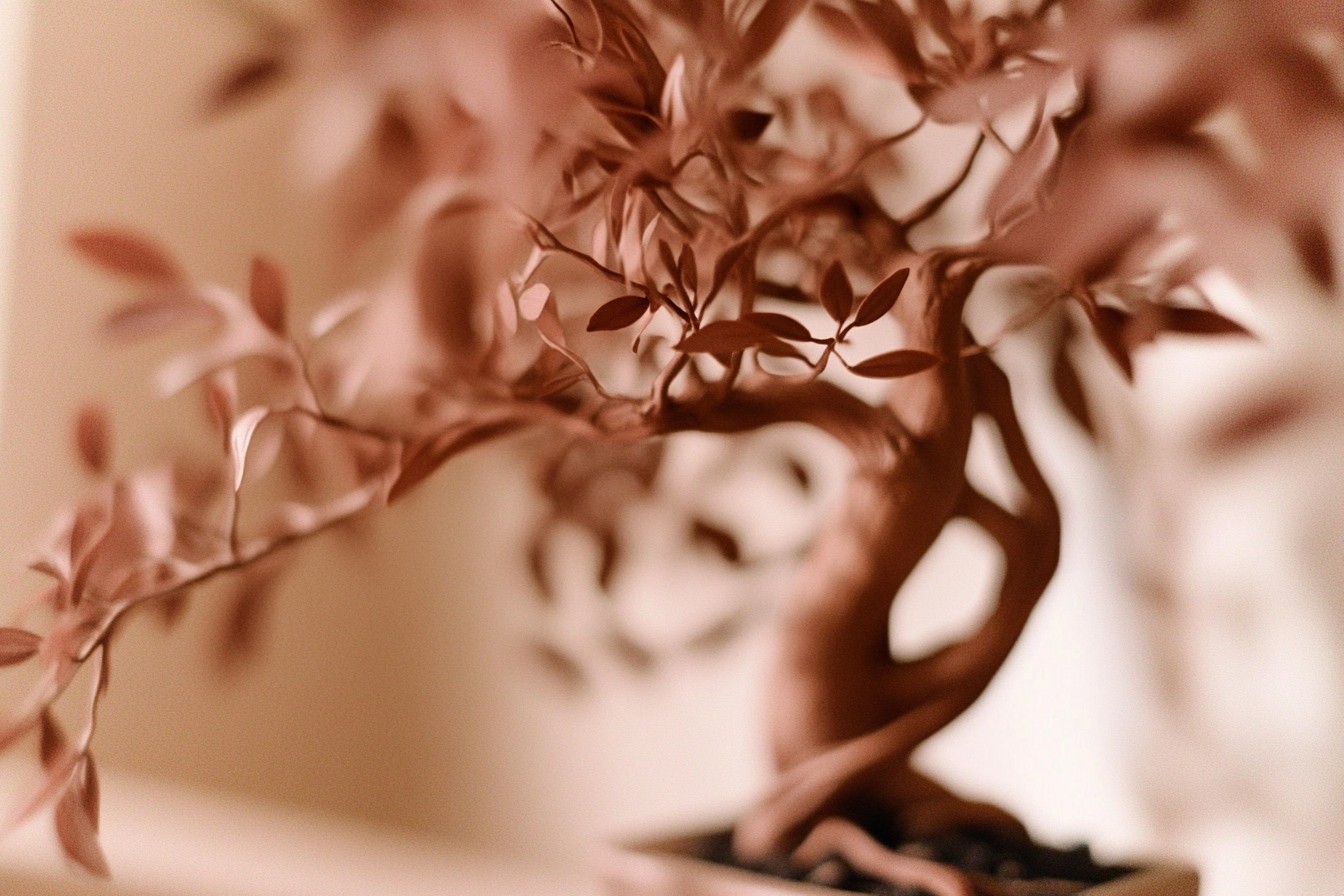
Nowadays I always preface my work with a sketch, something I stubbornly resisted for years until a workshop with this traditional bonsai master in Tampa opened my eyes to how much time I was wasting on plain trial-and-error. Now I physically diagram the form I am aiming for, considering how real trees grow in nature. Most novices make the blunder of designing trees that are strikingly symmetrical, which creates an unnatural and fake aesthetic. Real trees react to light, wind, competition—heck, they’re marvelously imperfect, you know?
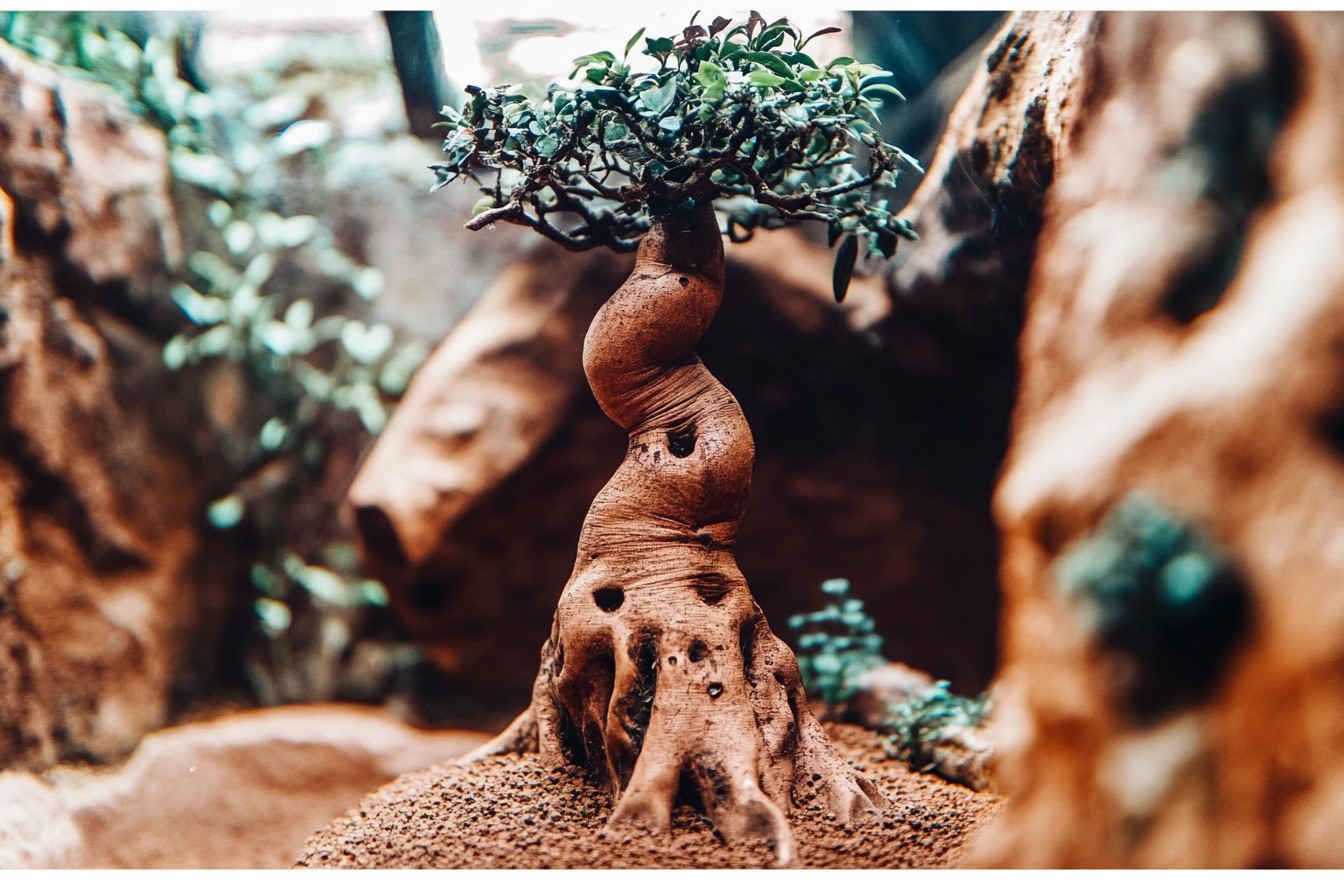
As for the hardscape which includes the “trunk” and “branches”, I have tried just about every kind of wood that can be purchased and even some that probably shouldn’t be. Spider wood and azalea roots provide these naturally branching patterns that require little work. Malaysian driftwood creates powerful twisted trunks, but usually, additional branches need to be added. And yeah, I have absolutely superglued smaller branches onto the main trunks. Purists might clutch their pearls, but the possibilities for achieving the desired angles and shapes are endless.
Nothing teaches a beginner to tighten the screws quite like an absolute disaster— it’s both a curse and a blessing. A sudden branch surfacing from the aquabonsai mid-maintenance is tad bit of a heartbreaker, and I am sure we all can relate to the feeling. Now I use this combination of super glue gel, fishing line, and in some cases, even tiny screws to maintain structure for bigger pieces. The soul-crushing moment of a months-long bonsai tree collapse will change your mind on ‘overkill’.
Choosing the right underbrush guarantees success and some pick have outperformers. Scratch that, java moss and Christmas moss are my go-tos for more jugged bonsai with more outdoorsy vibes. Hemianthus micranthemoides, desireable السعوديه, does more than best for a pearl weed dared tree. Bucephalandra species are as tropical looking as they getter but boy, waiting for them to grow puts your patience to the test!
With moss, the trick is to start with the absolute bare minimum, which I found out the hard way. Like, a ridiculous amount that is a fraction of what is included throughout the entire branch. My first mistake was going way too heavy on the moss and creating these bulky, fake-looking shapes. Nowadays, I do the opposite: I attach the smallest possible pieces of moss so that they can expand on their own over time. I am consistently blown away by how much change there is between week one and week eight, going from sparse shapes that are hard to see to abundant growth that looks beautifully natural.
Proper lighting makes or breaks the selling of the illusion. If it is too even, the bonsai will look flat and fake. Now I position my lights slightly off center which creates subtle shadows that add depth and allow the tree to come to life. Last year, for a restaurant setup in Miami, I actually ended up using two different lights: a stronger one from the south and a weaker fill light from the north. This mimicked how actual sunlight would hit the tree. The owner told me that his customers did not stop trying to touch the glass, convinced that the tree was real and somehow managing to survive underwater. Best. Compliment. Ever.
Maintenance is where most aquabonsais either flourish with grace or slowly devolve into an underwater jungle. Unlike regular planted tanks which benefit from the semblance of untamed beauty, bonsai tanks are sculpted to achieve an illusion of scale that needs regular pruning to sustain beauty. I literally set a reminder on my phone that says “tree trimming”—it’s this meditative practice that lasts twenty minutes of meticulous work with scissors and tweezers. Sunday mornings: cup of coffee in one hand and the trimming tools in the other. My cat judging me from the door, I carefully contour each intricate section. Weird? Somewhat. Satisfying? No doubt.
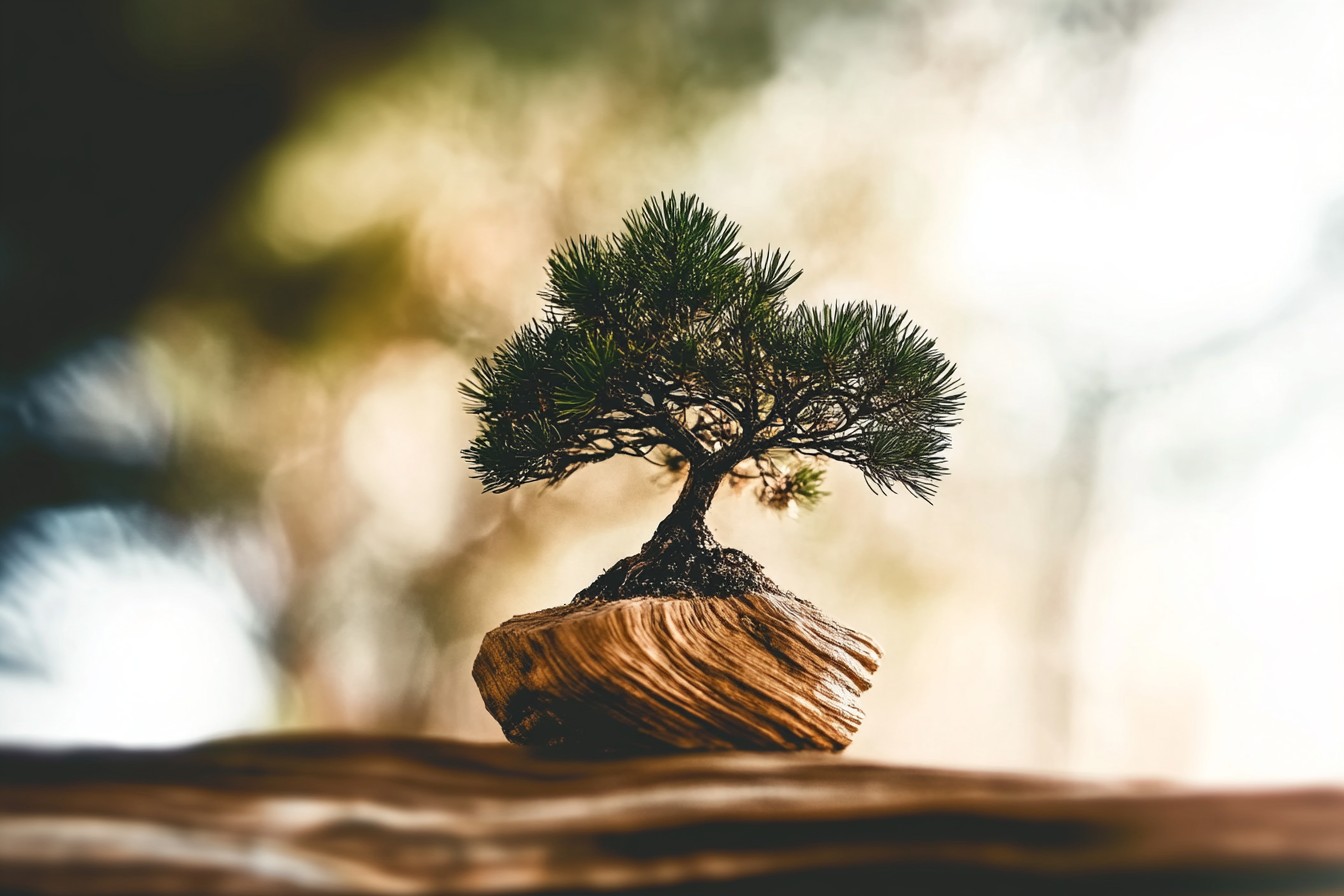
There exists one underwater bonsai to aquascape perk stiffing the bonsai style with an edge: these require way less plants compared to its counterparts which makes them cheaper but better in a lot of ways. My personal favorite has to be the current one stationed in my home office, a windswept juniper style crafted from spider wood and Christmas moss. With brutally strong lighting, the remains of near 14 month unconditioned algae growth are quite impressive. The capped plant mass contributes to a system that is nutritionally less strenuous, easier to maintain balance within crafted ecosystems.
My suggestion for novice aquascapers would be to find a tank of no larger than five gallons. Creating a singular bonsai tree yields enormous impact and is more rewarding than spreading a mediocre attempt over a larger tank. You shouldn’t feel discouraged if the first couple of attempts look bad, since mine certainly did. Each attempt teaches you something new.
The process itself is more gratifying than the finished product, including all the trimming, gluing, and failures. The satisfaction stems from blending aquascaping and bonsai sculpting; watching guests do a double take, lean close to the glass and ask how the tree is growing underwater is hilarious and absolutely worth it. Even if your fingers end up perpetually green, it’s worth the disbelief your partner has over three hours of moss arranging with tweezers. Am I right?


