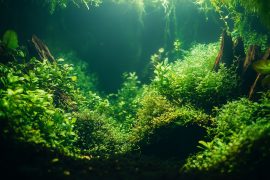
Have you ever found yourself daydreaming while watching your aquarium? This is about how my journey of constructing a water-based reef started. While doing a water change on my community tank, the 75 gallon one I own, I noticed driftwood pieces floating above the water and had an idea. Why can’t I solely design for the surface level of the aquarium and make it more visually appealing?
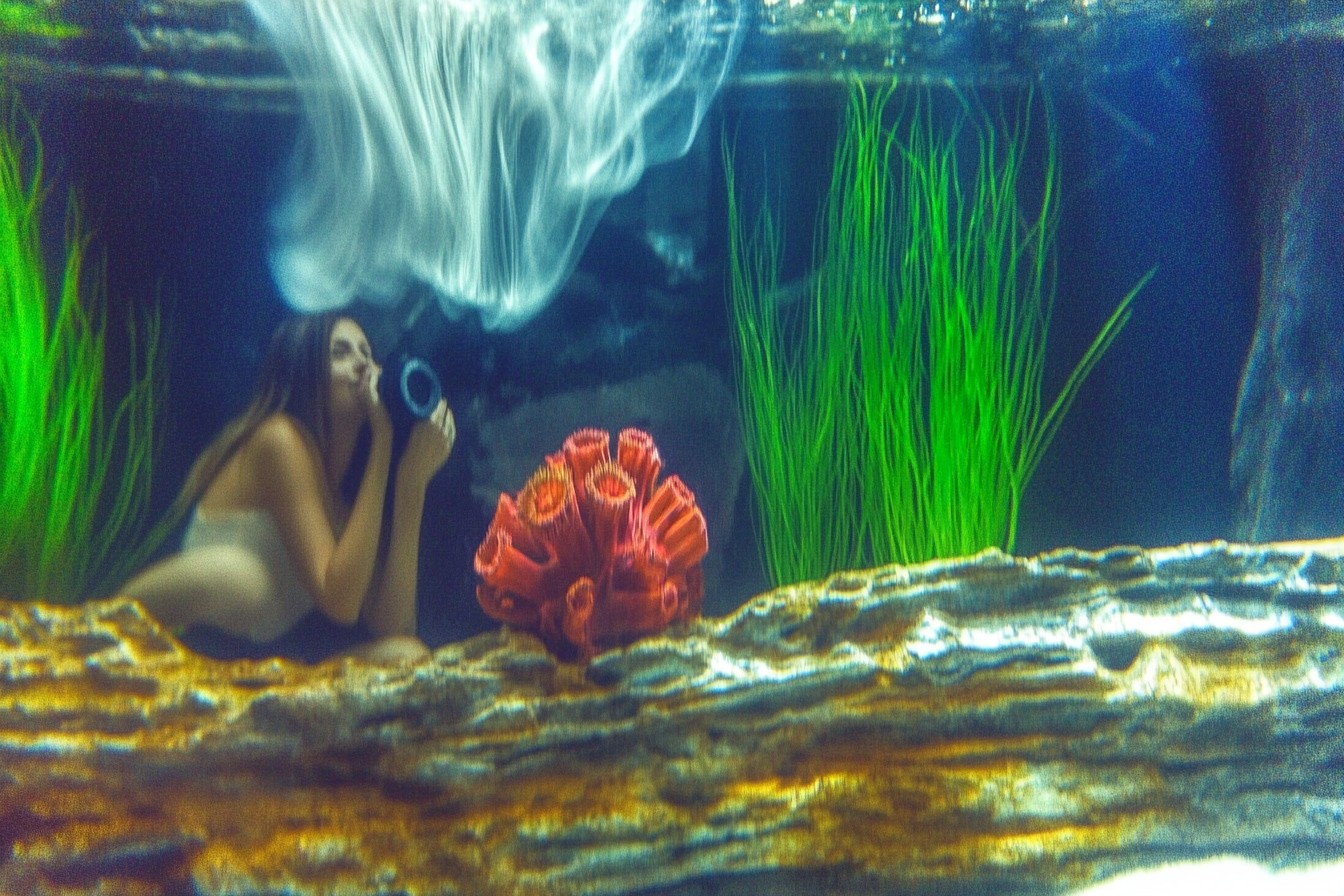
A mere three weeks later, after suffering through an absurd amount of failures and stress, I turned my vision into a reality. My fresh-water community tank is now equipped with a stunning floating reef island that complements my one of a kind design perfectly. Although my piece deviates from traditional guidelines aquascaping guides recommend, that is the charm of the hobby. The rules become mere suggestions once you remember the science that governs them.
I will share my step-by-step procedure, list every mistake I made, and how you can create your own version without repeating my blunders. Consider yourself warned. This project is not for the faint of heart, or anyone who likes their carpets to stay dry.
In order to begin, let’s discuss the materials. The primary chassis must be something that carts an appropriate level of stability and buoyancy. Commercial options like floating plant rings were unusable because they were too flimsy, and custom cut styrofoam works but looks atrocious, so my solution was cork bark, which can be purchased at craft stores. It is great because it is naturally buoyant, water-resistant, pleasing to the eye, and easy to work with. I bought several flat pieces about one inch thick and roughly eight by ten inches in size.
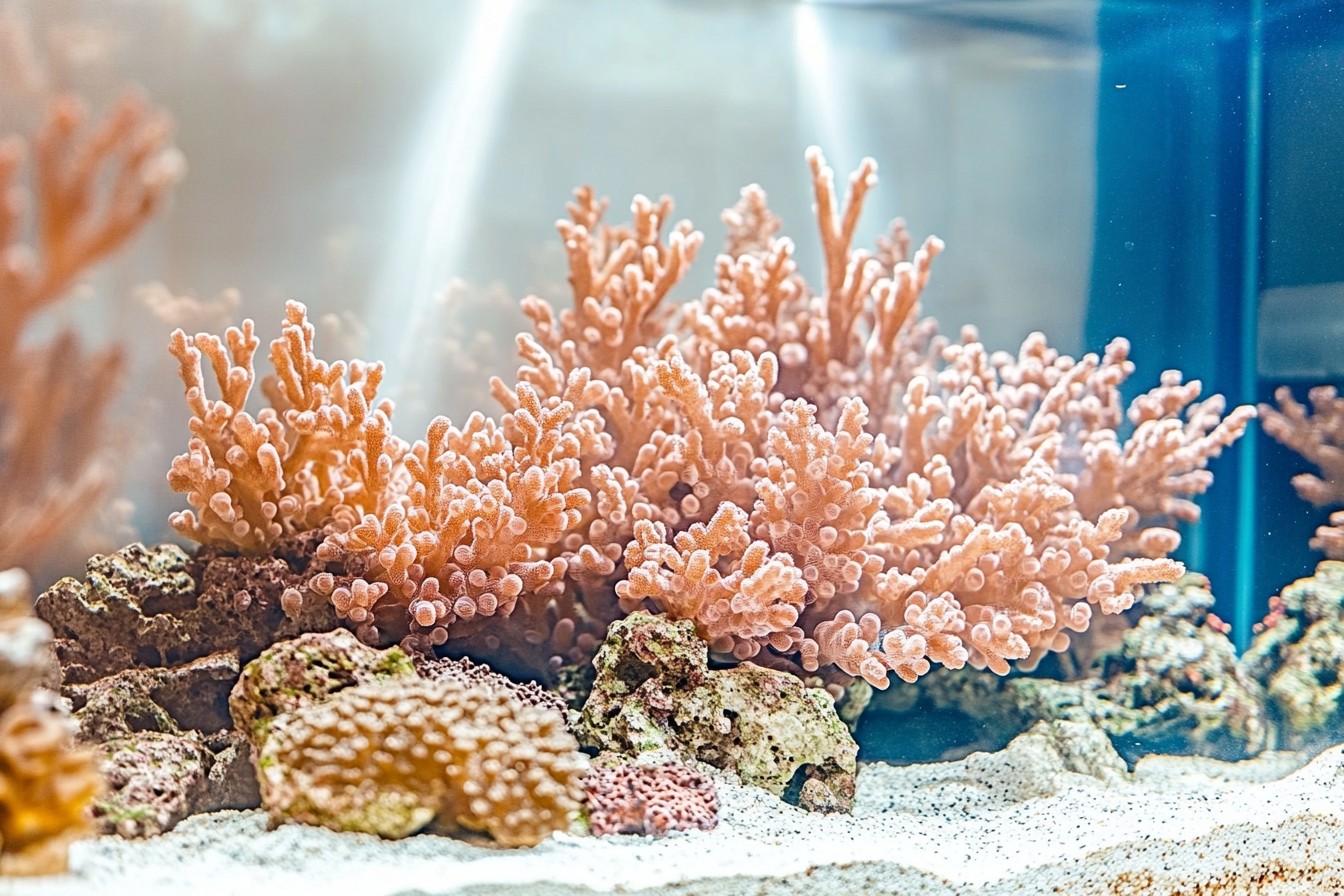
In order to create the aesthetic of a natural reef structure, I collected near invisible fishing line, superglue gel, which is cyanoacrylate for claws, mesh plastic used for needlepoint, and even cut plastic zip ties. Of course some scissors will also help.
The aquascaping build process all begins with forming the most stable base. In putting together my islands, I first start corking pieces in an 8×10 cork slab. I arrange two pieces of cork bark in a pleasing formation—slightly overlapping to create a natural looking island. Lastly, I connect them using the tip of the scissors so it can be used as scissors. The notches allow the strips to be pushed surgically and thus let a bit of glue serve as an anchor. Here, balance is key, too much glue means toxic mess but too little results in an unintentional floating island.
I made sure to pick emersed plants that do well under strong lighting, particularly high stems. ‘Petite’ Anubias nana was my favorite—her small stature and her ability to grow epiphytically means that she can be directly mounted onto surfaces. I also incorporated some expensive, but oftentimes, worth the price, Bucephalandra varieties, carefully selected Java fern ‘Windelov’ and, because I seem to like difficult tasks, several strands of Christmas moss with the expectation that they would one day flow into the water.
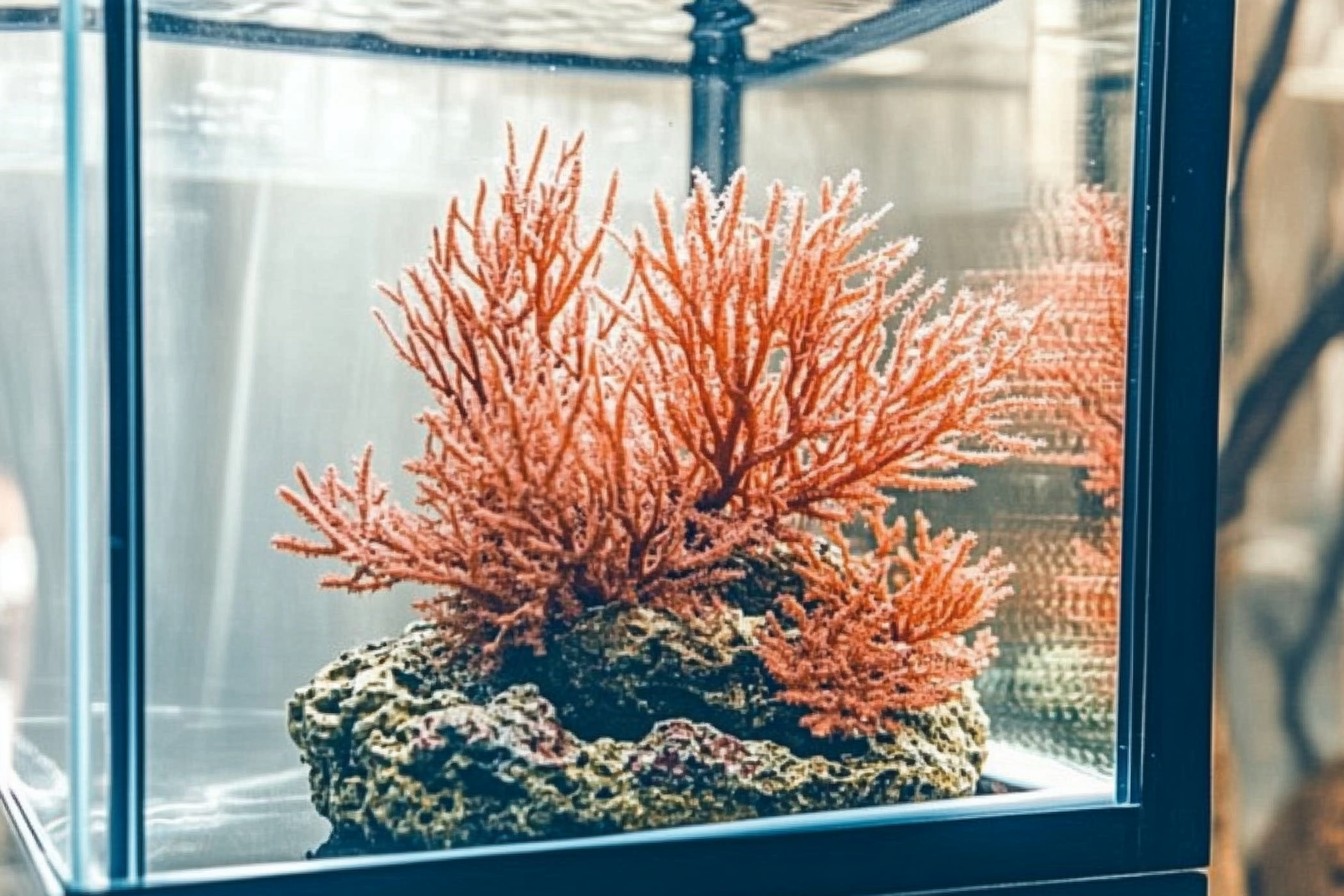
I worked harder to remove all of them—and I never thought I was capable of such restraint. Each plant would be secured to cork by its rhizome. The attachment was done through casting the line with a fishing rod. Care had to be taken with the growth points. For the smallest Buces, I practiced the superglue gel method where a bead was applied onto the cork, pressed onto the base, and kept for 30 seconds. Tedious? Definitely. Worth it? Certainly!
My first catastrophic failure happened during my placement. After putting in a tremendous effort, I gently lowered my magnificent floating garden into my tank. I couldn’t help but step back to admire my work, that was until I watched my garden flip over sending all my plants underwater. My cardinal tetras went wild as well and seemed to be in a panicked frenzy. I had no idea that cork bark had a distinct side that preferred to face downward. Who knew? (Everyone but me, apparently.) After spending an hour decorating my creation, stubbornly attempting without success to get my proportional imbalance fixed, I decided to add concealed counterbalances. I attached small pieces of plastic canvas filled with aquarium gravel that were zip tied to the bottom side of the tank. In the end, it took me three attempts to achieve the stability I needed with having the right weight distribution.
Once again, I faced calamity two weeks later. Everything was going profoundly well. Plants appeared to be acclimatizing properly, their roots starting to reach towards the water, achieving the astonishing lift effect I envisioned. Then, there it was: my rookie mistake. I forgot to close the tank during a particularly hot day while running errands. When I came back, I was shocked to find that my masterpiece had magnified cracks in the upper region. Some of the softer Bucephalandra were on the edge of death with crispy burnt tips that required months of recuperation.
What changed the game for me was extremely easy: a small adjustment of adding a computer fan to gently circulate air across the surface of the water combined with a cheap ultrasonic humidifier positioned nearby during drier days. Not something I envisioned for my minimalist aquascaping design, but I should’ve learned that successful aquascaping means sacrificing beauty for practicality.
I noticed that the water parameters also required adjustment. With the significant emersed plant mass, I found there was not enough water which greatly altered nutrient absorption. This meant that I had to increase my fertilization schedule, especially the micronutrients. My tiered island began acting like a sponge, aiding in the reduction of algae blooming in the main tank. On the contrary, I started noticing an increase in water evaporation, requiring me to add more water frequently and leading to about 15% higher evaporation.
Trim maintenance has its hand-related challenges, and any seasoned specialist will tell you focus is critical. Ideally, you would use a set of curved scissors that would remain closed over the tank so as not to drop any dislodged clippings. I’ve learned this from experience; spending a Sunday afternooon scooping out bits of Christmas moss which decided to join my system as a dreaded snorker. My life has since been upgraded along with a plastic container that I now keep below the island during maintenance sessions to collect all the dislodged bio-filtration media. It is quite remarkable how easy it is to fix problems if only you are creative enough at the right time.
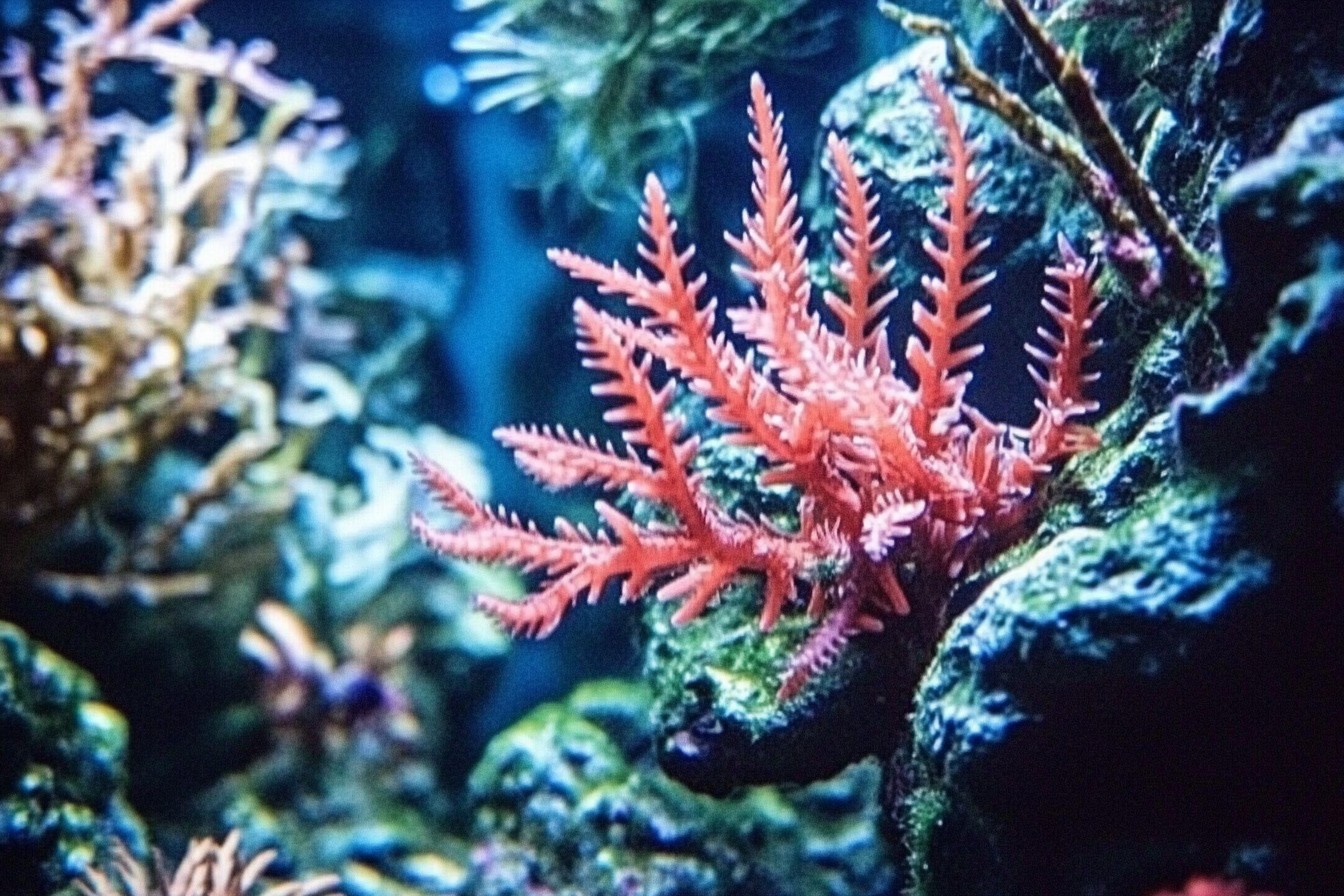
Visually, the most striking organic feature came almost a third of the way into the sistemms life cycle. The natural curtains of water plants roots that hang down into the water turned out to be a favorite territory of my cardinal tetras that would now zoom into the roots globule during their meals. On their turn, the surface-dwelling hatchetfish would hover immediately under and the tetras would glide between the root clusters above. The synergy at this point of the diverse community living in the water was incredible and, what can I say, quite fortunately and completely wasn’t a crude idea of mine, rich beauty.
For anyone who aims to complete this project, I have put together some tips. To begin with, I suggest making the island smaller than intended. For a standard 40-gallon breeder tank, a 4×6 inch island should be sufficient. Focus your plant choices on those that sit above the surfaces instead of those that grow within substrate. During the first three to four weeks, maintain high levels of humidity. Lastly, and quite importantly, make sure to create a backup plan for your aquascape when things end up going wrong.
The total I spent for materials was roughly 65 dollars, not including the plants, which I, and many aquarists, often hide from their partners. The initial build took around 8 hours to complete, followed by 20 minutes of weekly maintenance.
This project assists in making the entire room look classy. I, personally, find it among the most enjoyable features of my house. The elegantly shaped, green islands appear to be floating in mid-air, while fish swim beneath. This experiment strays from every rule of conventional aquascaping, but it is for this precise reason why I love it so much.
You might be amazed at how a random, “water change” related thought can have the potential to incite a masterpiece positionally. Do not shy away from exploring your so-called “probably wont work ideas”. Just ensure wet towels are handily located within arms reach, a spare filter ready to be installed, and the number of your lovable partner stored in your pocket who knows for a fact that, while crafting aquatic sculptures demands a lot of cleaning, in reality it is very messy.
