
The first time I set up a Walstad tank, I was skeptical. Coming from the high-tech, CO2-injected, meticulously aquascaped world, the idea of throwing some garden soil in a tank and calling it a day seemed…primitive. Like trading in a sports car for a horse and buggy.
But I was broke, tired of the constant maintenance on my high-tech systems, and curious enough to try. That first little 5-gallon experiment changed everything I thought I knew about the hobby. For those unfamiliar, the Walstad method—named after Diana Walstad, author of “Ecology of the Planted Aquarium”—is essentially an approach that mimics natural systems by using soil as a substrate and relying heavily on plants to maintain water quality.
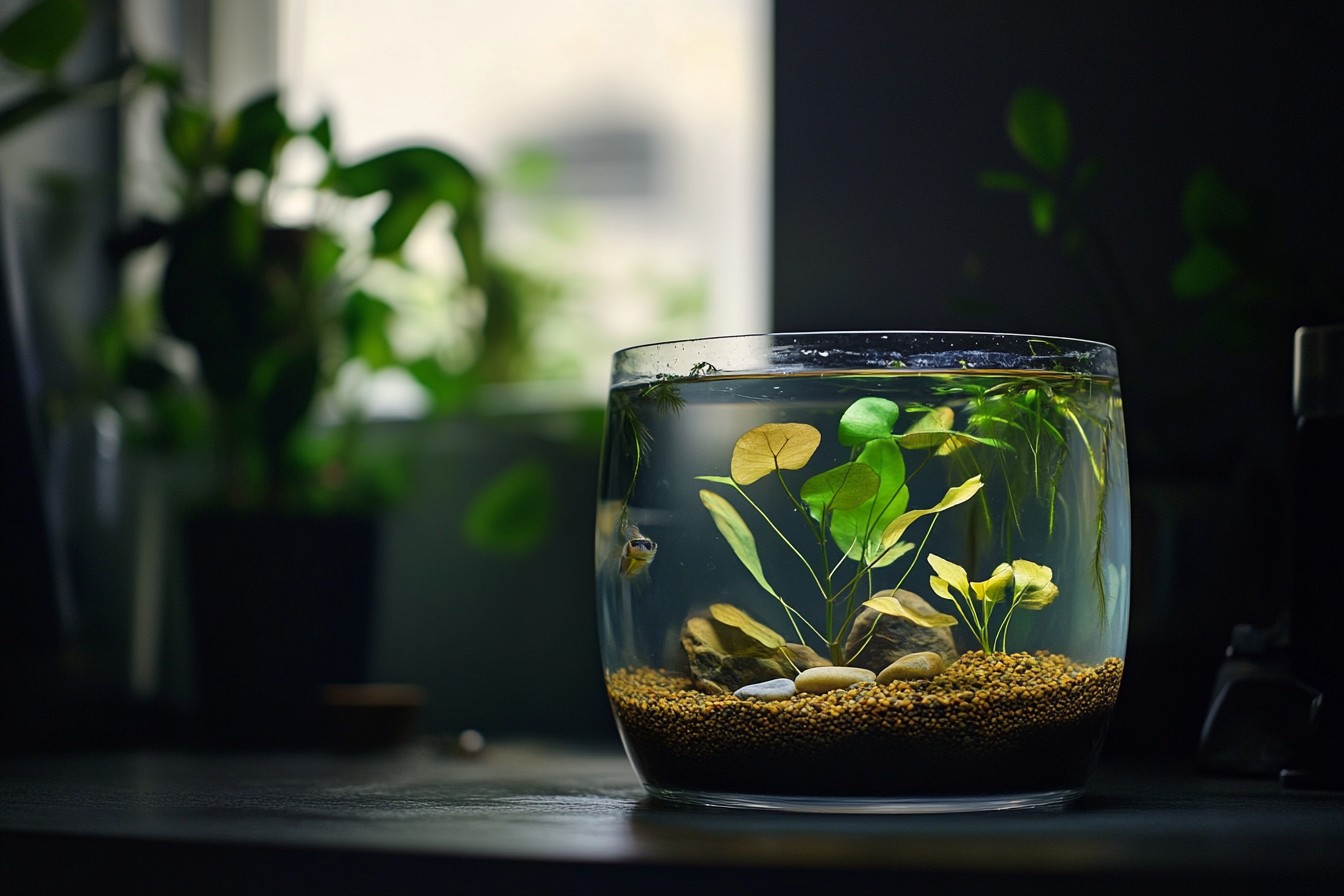
No fancy CO2 systems, minimal water changes, and often no filtration beyond what the plants provide. It sounds too good to be true, which is exactly what I thought when I first heard about it. My initial Walstad setup was a small bowl—literally a glass serving bowl from a thrift store that cost me $3.
I used organic potting soil capped with some leftover sand, planted heavily with stems and floaters, added a tiny heater, and set it on my kitchen counter. I fully expected a cloudy, algae-ridden disaster within days. Six months later, that bowl was still crystal clear, the plants were thriving, and a small group of cherry shrimp had bred into a sizeable colony.
The total setup cost me less than $20, and I’d spent maybe 10 minutes a month on maintenance. Since then, I’ve set up dozens of Walstad-style tanks for myself and clients, ranging from tiny desktop bowls to 75-gallon display tanks. I’ve had successes and failures, learned through trial and error, and developed a deep appreciation for this low-tech approach that once seemed so counterintuitive to everything I’d been taught about “proper” aquarium keeping.
Let me walk you through the basics if you’re interested in trying this method yourself. Fair warning though—it requires a mindset shift. If you’re the type who needs precise control over every parameter and immediate results, the Walstad method might drive you insane.
It’s slow, sometimes unpredictable, and relies more on biological processes than gadgets. But if you’re patient and willing to work with nature rather than trying to dominate it, you might find it’s the most rewarding approach you’ve ever tried. The foundation of any Walstad tank is, obviously, the soil.
This is where most beginners go wrong—including me in my early attempts. Not all soil is created equal, and using the wrong type can turn your beautiful tank idea into a murky, ammonia-leaching nightmare. I’ve had the best results with organic potting soil that contains no manure, no fertilizer pellets, and ideally no perlite (those annoying white bits that float).
Miracle-Gro Organic Choice Potting Mix used to be my go-to, though they’ve changed the formula over the years, so I now test new bags before committing them to a tank. Here’s a trick I wish someone had told me years ago: test your soil before using it by putting a handful in a jar of water and letting it sit for a week. If the water turns deep brown or develops a film on the surface, or if it smells strongly, you might want to process the soil further before use.
I’ve spent countless hours picking through soil like a prospector, removing twigs, perlite, and any large chunks that might decompose too quickly. It’s tedious work, but it pays off in system stability. For larger Walstad setups, I typically mineralize the soil first—a process of repeatedly wetting, drying, and rinsing it to break down the most volatile organic compounds before they can cause issues in your tank.
For small bowls, I often skip this step, but for anything over 10 gallons, it’s worth the extra time. I’ve learned this lesson the hard way after setting up a 55-gallon with unmineralized soil and spending the next three months fighting ammonia spikes and algae blooms. Once you’ve got your soil prepared, you need to cap it with something to keep it from floating around and clouding your water.
Sand is traditional, though fine gravel works too. I prefer black diamond blasting sand because it’s cheap and creates nice visual contrast with plants, but play sand or aquarium sand will do fine. The cap doesn’t need to be thick—about half an inch to an inch is plenty.
Too thick, and you’ll create anaerobic zones that can cause problems later. The last time I set up a Walstad tank for a client, they watched in horror as I put “dirt” in their beautiful new aquarium. “You’re sure this works?” they kept asking as I sprinkled soil around the bottom.
Six months later, they called me to set up another one in their office because they couldn’t believe how little maintenance the first one required. Converting skeptics gives me an unreasonable amount of satisfaction. Plant selection is where the Walstad method gets interesting.
Unlike high-tech systems where pretty much any plant can thrive if you throw enough light and CO2 at it, Walstad tanks require more thoughtful choices. You need plants that can access nutrients from soil through strong root systems, plants that grow quickly enough to outcompete algae, and ideally a mix of species that use different resources so they’re not all competing for the same nutrients. In my experience, the workhorses of successful Walstad tanks include fast-growing stem plants like Hygrophila, Rotala, and Ludwigia; rooted plants like Amazon swords, Vallisneria, and Cryptocoryne; and floating plants like frogbit or water lettuce.
That last category is crucial—floaters help reduce light (preventing algae) and suck up excess nutrients from the water column extremely efficiently. I always aim for about 80% planting density from day one in a Walstad tank. That means it looks almost overcrowded when you first set it up.
Plant heavily, plant diversely, and don’t worry too much about aesthetics at first—you can always thin and rearrange later as things grow in. One of my most successful Walstad tanks started looking like a literal underwater jungle, with stems crammed in so tightly you could barely see through them. As the system stabilized, I gradually removed about half the plants and arranged the remainder into something more visually pleasing.
Lighting for Walstad setups is simpler than for high-tech tanks, but there are still some considerations. Too little light, and plants won’t be able to do their biological filtration effectively. Too much, and you’ll be fighting algae constantly.
I typically aim for moderate lighting—enough to reach the substrate but not so much that the tank becomes a giant algae farm. For small setups, a simple desk lamp with a daylight LED bulb often works perfectly. For larger tanks, I use basic LED fixtures designed for planted tanks, but run them for shorter periods or raised higher than I would for a high-tech setup.
The photoperiod is important too. Ms. Walstad herself recommends a siesta period—running lights for 5 hours, then off for 4, then on for another 5.
This helps prevent algae and allows CO2 to build back up during the dark period. I’ve found this works beautifully for some tanks and makes no difference for others, so I usually start with a traditional 8-hour straight photoperiod and adjust if needed. The most controversial aspect of the Walstad method is probably the approach to filtration—or lack thereof.
Traditional Walstad tanks have no filter at all, relying entirely on plants for biological filtration. I’ve had success with this approach in smaller tanks (under 10 gallons) but prefer to use at least minimal filtration in larger setups. A simple sponge filter or a small HOB with just mechanical media provides water movement and extra biological surface area without creating too much current that might outgas the limited CO2 available.
In my office Walstad tank—a 20-gallon long that’s been running for three years now—I use a tiny internal filter that’s rated for tanks half its size. It provides just enough gentle circulation to prevent dead spots without creating a current strong enough to bother the slow-moving bettas that inhabit it. The plants do 90% of the filtration work; the filter is just insurance.
Water changes in Walstad tanks follow a different philosophy than in conventional setups. Instead of regular large water changes, you’re aiming for a balanced system where plants use up fish waste as fast as it’s produced. In a well-established Walstad tank, water changes might be as infrequent as once a month or even less.

I still test water parameters regularly, but I’ve had Walstad setups run for months with stable parameters and no water changes beyond topping off for evaporation. This doesn’t mean you never change the water—you’re still removing and diluting various waste compounds that plants don’t use. But the frequency and volume are typically much lower than in conventional or high-tech tanks.
I usually start with small weekly water changes (about 20%) for the first couple months until the system stabilizes, then gradually reduce as I monitor parameters. Some of my established Walstad tanks get a 20% change only when nitrates exceed 20ppm, which might be every 2-3 weeks or even less often. The cycling process for Walstad tanks also differs from conventional setups.
Instead of waiting for bacterial colonies to establish before adding livestock, the heavy plant load from day one typically processes ammonia fast enough that you can add a few hardy fish or shrimp quite early. I’ve measured zero ammonia in heavily planted Walstad tanks just days after setup, though I still advise caution with stocking. Start with a very light bioload and increase gradually as the system matures.
Speaking of stocking, this is another area where the Walstad approach requires restraint. These systems work best with light bioloads—think a few small fish or a shrimp colony rather than schools of hungry cichlids. My most successful Walstad tanks have contained bettas, small tetras, celestial pearl danios, or shrimp colonies.
The fish waste provides nutrients for the plants, but overstock the tank, and the balance tilts toward algae and poor water quality. I learned this lesson painfully with an early Walstad attempt where I added too many white cloud mountain minnows too quickly. The plants couldn’t keep up with the waste production, algae took over, and I ended up having to tear down and restart the entire setup.
Now I stick to the rule of severely understocking compared to conventional tanks—maybe 25-30% of what you might put in a filtered tank of the same size. Let’s talk about the elephant in the room: algae. Every tank will experience some algae, but Walstad setups can be particularly prone to algae outbreaks during the establishment phase.
As soil releases nutrients and plants are still adapting and growing, algae can quickly take advantage of the nutrient-rich environment. This is normal and usually temporary. My approach to algae in new Walstad tanks is simple: wait it out, manually remove what I can, and adjust lighting if necessary.
Adding fast-growing floating plants early on helps enormously by reducing light and competing with algae for nutrients. Some of my Walstad setups have gone through an “ugly phase” with significant algae for the first month or two, then suddenly cleared up as the balance shifted toward higher plants. Patience is absolutely critical here—rush to “fix” the algae with chemicals or major interventions, and you’ll likely throw off the developing balance.
Maintenance for established Walstad tanks is minimal but still necessary. I typically trim plants as needed, remove any dead or decaying plant material promptly, and occasionally thin out species that are taking over. The soil substrate will gradually deplete over time—usually over the course of 1-3 years depending on bioload and plant types.
You’ll notice this happening when plants that were once thriving start to show deficiencies despite good lighting and otherwise stable conditions. When this happens, you have a few options. You can add root tabs near heavy root feeders, start dosing a very light liquid fertilizer, or tear down and restart the tank with fresh soil.
I usually opt for occasional root tabs first, as it’s the least disruptive approach. My oldest Walstad tank ran for almost four years before needing a complete restart, and even then, the process was smooth—the mature plants quickly adapted to the new soil and the tank was back in balance within weeks. The Walstad method isn’t for everyone or every situation.
It works best with freshwater plants that don’t have extreme requirements, fish that tolerate occasional parameter fluctuations, and in situations where natural aesthetics are preferred over manicured, high-maintenance aquascapes. But for beginners looking to enter the planted tank hobby without a massive investment, or for experienced aquarists tired of the constant maintenance of high-tech systems, it offers a fascinating alternative that can be both beautiful and remarkably low-maintenance. That skeptical first attempt with a thrift store bowl has evolved into a genuine appreciation for what the Walstad method represents—working with natural processes rather than constantly fighting against them.
There’s something deeply satisfying about creating a system so balanced that it largely maintains itself, requiring only occasional guidance rather than constant intervention. It’s taught me patience and observation in a hobby that often pushes for immediate results and perfect control, and honestly, some of my most beautiful tanks have emerged from this seemingly simple approach.


