")
Every scar tells a story, I got one in my right palm from an incident my wife fondly calls, “The Great Dragon Stone Disaster of 2018.” Imagine a stunning rock formation I constructed sitting in my 75-gallon tank. It thrived in all its beauty for three glorious days, until during a routine water change, it came crashing down and shattering into fragments. Not only did the explosion splash shards into my hand and frighten my pearl gouramis to retreat for a week, it also had me resorting to colorfully vulgar phrases that would make any salty reef keeper cringe.

That incident was a costly lesson for me due to the physics of gravity, dynamics, and the absolute importance of securing landscaping materials. Now, I’m advocated proper important techniques for bonding rocks—partially due to wanting to spare fellow aquascapers heartache, but mainly because my wife forbids me from starting new tanks unless I promise to bond the rocks properly this time.
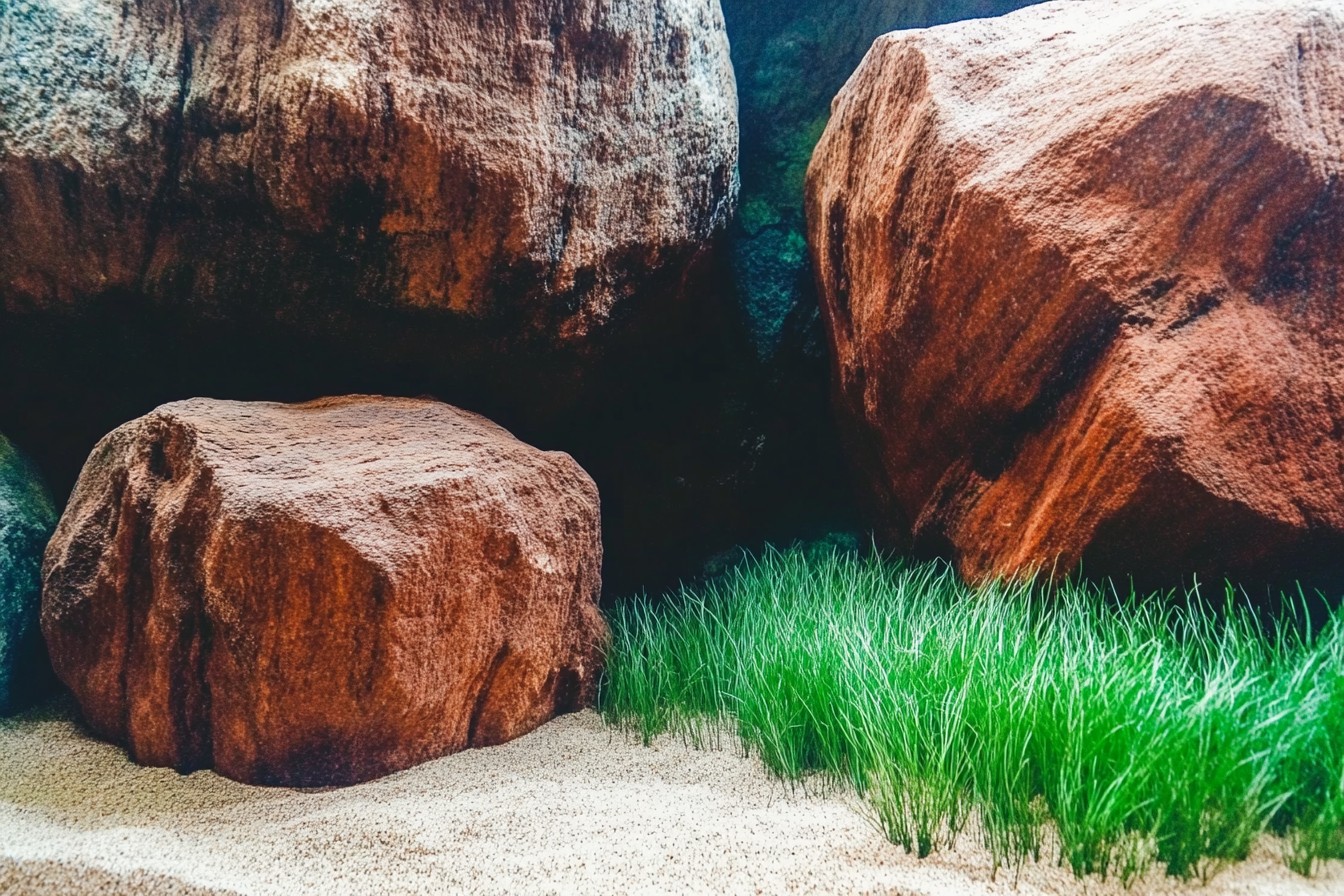
What they don’t tell you in fancy aquascaping magazines about rocks in aquariums is how water truly does change everything. Literally. That stunning stone arch which is fully balanced sits so proudly on your workstation transforms into a catastrophic threat the moment it gets submerged. Water reduces the effective weight of rocks by thirty percent which makes meticulously synchronized structures much less stable once placed underwater. Not to mention the occasional bump during maintenance, bottom-feeders, or the graceful shifting action that occurs during water changes. All of these factors are brews for damaged glass, crushed plants, or even worse.
After my major mishap (along with a few less notable rockslides that I publicly don’t acknowledge), I have spent years trying different methods of creating secure hardscape structures. Some worked brilliantly others spectacularly failed. I’m sharing what I’ve learned so that you do not have to repeat my mistakes—and the trips to the emergency room they at times led to.
To begin with, my recommendations on what NOT to do. The liquid form of superglue does not work well when underwater. It sets too quickly for proper positioning and bonds made are too brittle and fail under stress. Aquarium grade silicone sealant does work, but it takes way too long for curing, dry surfaces and creates unsightly seams which are very prominent. Putty epoxies do work but they are starkly obvious unless covered in plants or substrate. And please hot glue guns for the love of all things aquatic hot glue guns should never be used. Never. Trust me on this one.
After all the trials (including the infamous one that cost me four pounds of seiryu stone and a custom tank bottom), I have three dependable strategies, each tailored to meet different situational challenges.
For practically every possible connection that can be made by hand, my preferred attachment method is cyanoacrylate gel superglue. It is better than the liquid version. In fact, the gel consistency provides working time to position pieces correctly before it sets. The trick is to use the GEL formula, whether it’s Gorilla Gel, Loctite Gel Control, or other brand-name cyanoacrylate gels specific to aquariums. The difference is the mess that gel creates (or doesn’t, as the case may be).
This stuff works, especially when you’re outside the tank. Dull with sandpaper both surfaces to be joined, wash them thoroughly, and allow complete drying. Apply the gel generously to one surface, firmly press the pieces together. Hold for thirty to sixty seconds. Immediate bonding occurs, but make sure not to submerge for a full twenty-four hours to allow the adhesive to completely cure. I learned this the hard way by rushing a build. Watching rocks claim for “securely bonded” in slow motion twenty minutes after filling the tank is horrifying.
The gel method works simply fantastic for intricate designs that do not involve water. Nowadays, I pre-fabricate almost all my hardscapes on a separate workbench, ensuring a full cure before any exposure to water. But what happens after your tank is completely filled? This is where the second method steps in.
For pieces to be added into a tank or for connections that need to be made underwater, the combination of cyanoacrylate gel with fine-grained substrate works wonders. Apply superglue to the surface of one of the rocks and swiftly submerge it into water together with another rock of equal size. Here’s where the “magic” happens: maintain your grip on the rocks and prinkle fine sand or aquasoil right at the joint. Substrate particles, apart from masking the glue joint perfectly, expedite the curing process and reinforce the bond.
I can’t say I came up with this technique first because it was taught to me by a reef keeper who used it with coral fragments. It also applies to freshwater hardscaping, providing bonds that are effectively water set and virtually undetectable. This is how I was able to attach small stones to larger structures, secure plants to rocks, and perform emergency repairs without draining the tank.
When it comes to more heavyweight constructions, or more fragile stacks, I bring out the big guns: aquarium formulated epoxy putty. My go-tos are Milliput, Pondstone, and TwoLittleFishies Stoneworks. These two-part epoxies come as separate compounds that require kneading together in order to activate. After mixing, you generally have 15 to 30 minutes of work time before they start the setting process.
The procedures differ here. Rather than attempting to form invisible bonds, I opt to use epoxy “mortar” to fill gaps between rocks like building a small stone wall. Adapt your design to include the methods rather than fighting against it. While hiking in Arizona, I came across some striking sedimentary rock formations. Through the use of dark gray epoxy as mortar, I was able to mimic the look using lighter stones. With careful matching and artistic texturing, which can easily be done with a toothpick, it is possible for epoxy mortar to help enhance the hardscape instead of taking away from it.
The epoxy method provides beautiful, unparalleled strength to the structure. Unlike the use of glue, I was able to construct unsupported walkways and arches. In my case, it’s a downside as most need 24-48 hours to cure before full submersion, which allows ammonia to be released that will require constant water changes at the start.
Whatever method you want to utilize, ensure your hardscape has a plan that works for it long-term. The rule of three has come to my aid countless times: every rock should have a minimum of three points of contact with other surfaces. This principle of contact makes structures—regardless if they are bound or not—incredibly stable, and it is in reason form, glued or otherwise. Personally, I try to keep away from narrow, tall towers; unless, they are glued well to a broad base. Eventually, physics wins.
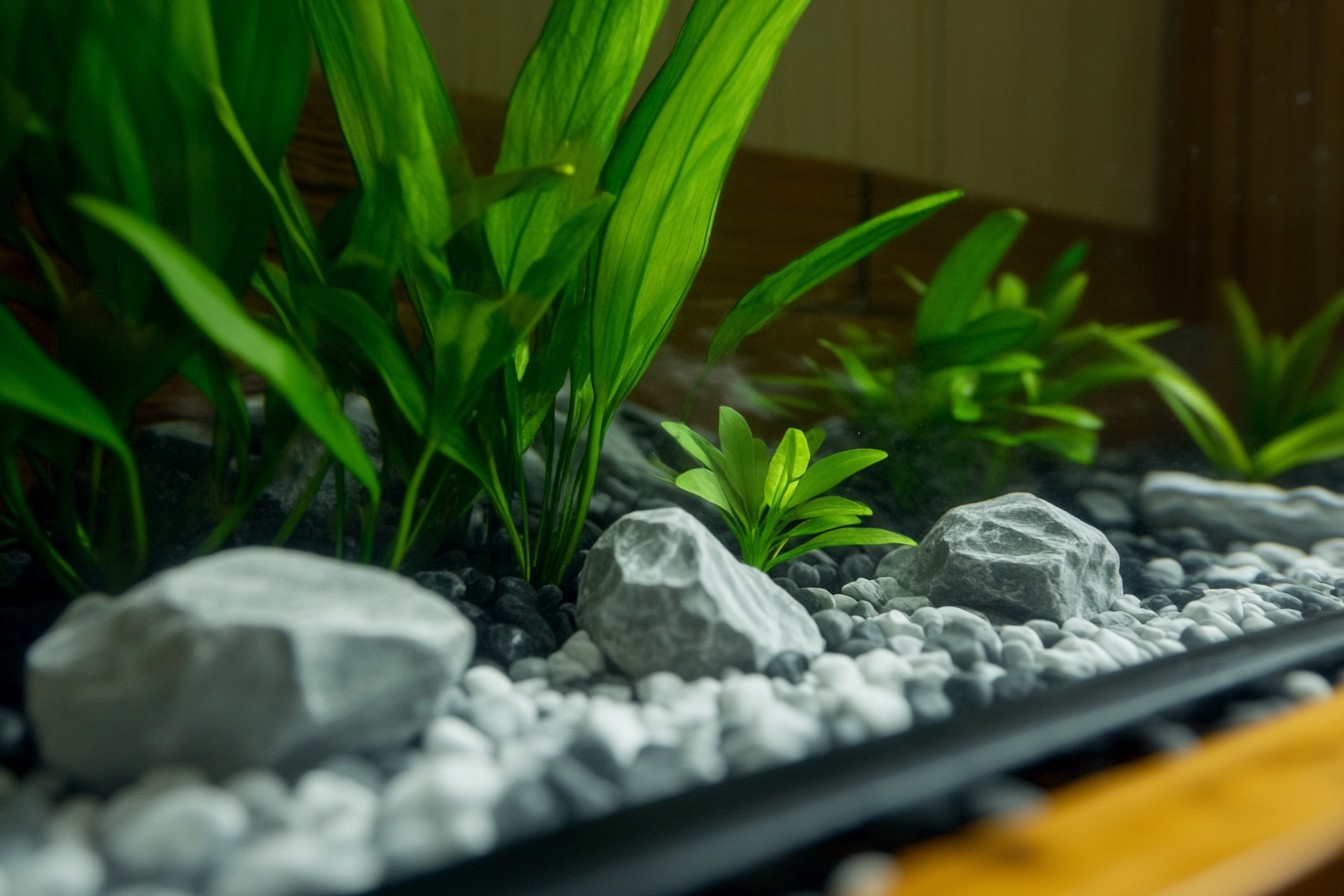
Also remember, over time, plants can be added to fortify your structures. The strategic placement of rhizome plants such as Anubias and Bucephalandra is helpful in that they can bind rocks together naturally as they grow while the root systems that stem plants and carpeting species will stabilize the substrate around the base of your hardscape.
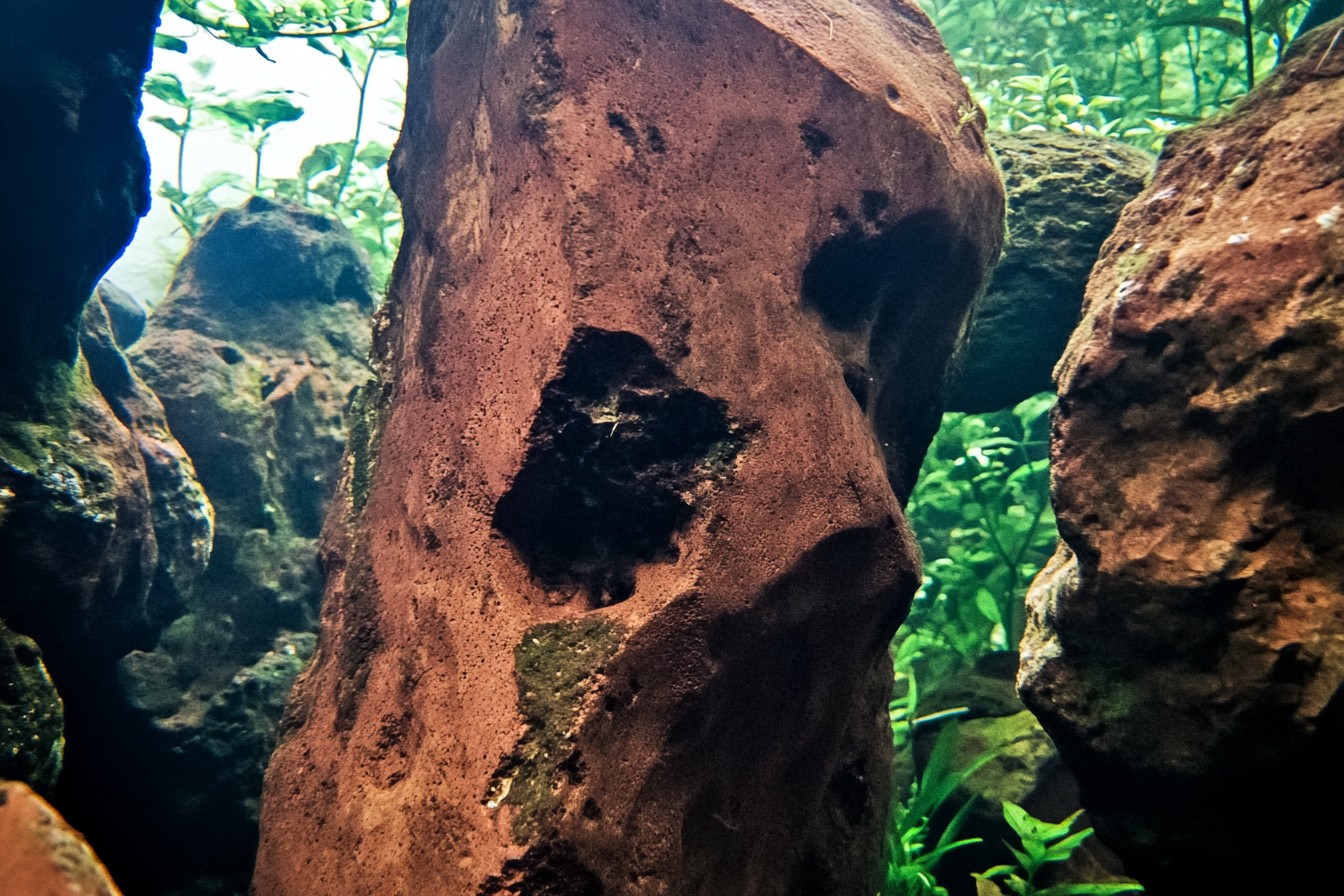
I rebuilt the structure made from dragon stone that once collapsed on me in my current display tank. This time, using a combination of all three methods to secure it. The formation has more than survived countless water changes, a cross-country move, my nephew tapping on the glass repeatedly during holiday visits, and I’m sure there are other instances where my enthusiasm was far-too-high. With each passing moment, I see my gouramis swim peacefully through the arches while I rest without the dread of waking up to catastrophic hardscape failure.
The scar on my palm has turned into a faint white line, almost invisible, but the message stays etched in my mind: whether in aquascaping or life, the right connections can help you remain vertical amidst powerful currents. When you anchor your hardscape meticulously, your aquatic scenery can endure the test of time—and transformations in water level—waiting to be appreciated long into the future.


