
I have made every lighting mistake possible. And not just once – repeatedly, stubbornly, expensively. Like the time I tried to save money by building a DIY LED fixture, only to discover that my soldering skills were wildly inadequate when the entire thing short-circuited and plunged my living room into darkness.
Or the summer I decided that “natural sunlight is free and perfect for plants,” positioning my rimless high-tech tank by a south-facing window, creating what I now affectionately refer to as “The Great Algae Disaster of 2018.”
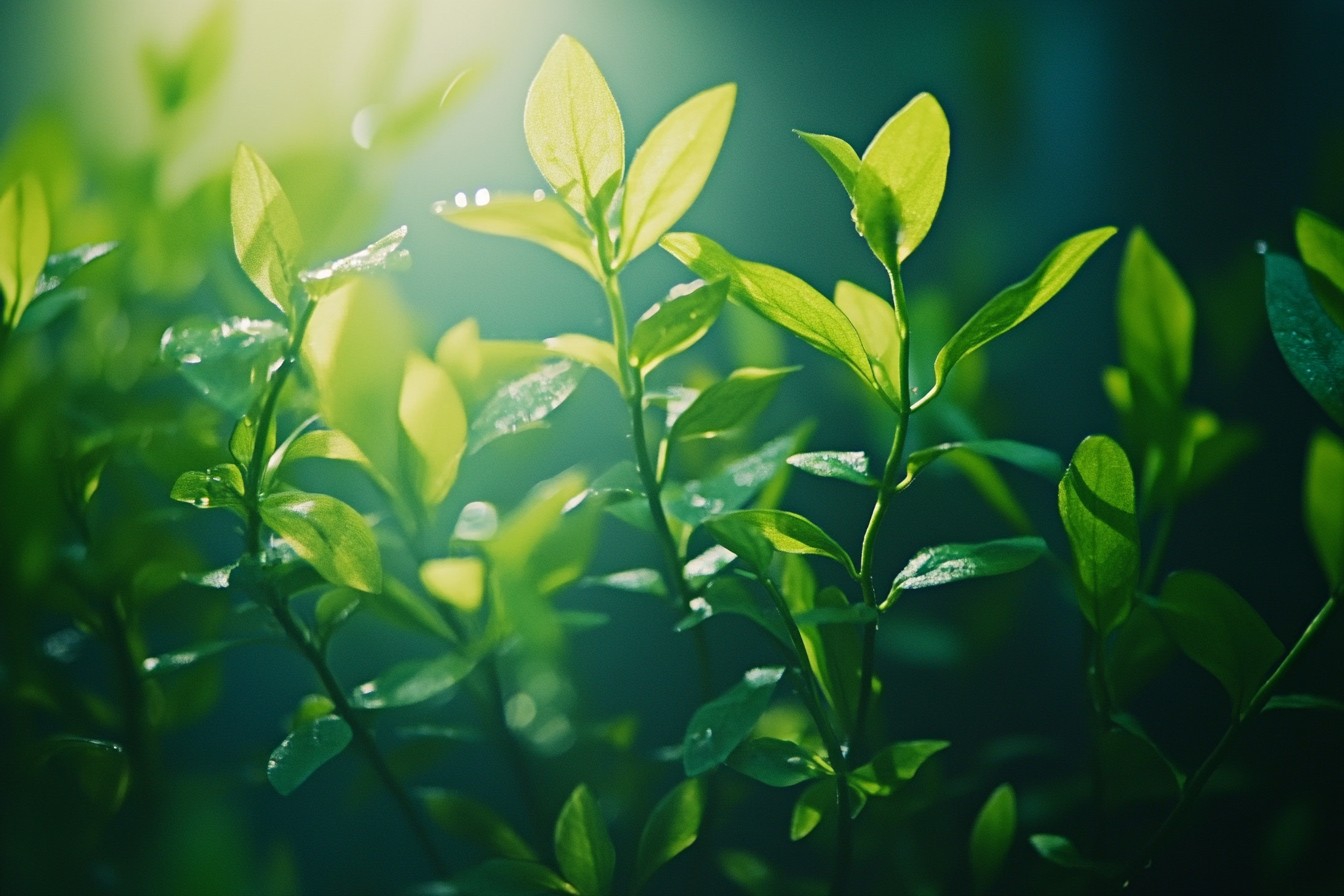
Lighting is simultaneously the most impactful and most misunderstood element of successful aquascaping. Get it right, and your plants pearl with oxygen bubbles, display vibrant colors, and grow in the compact, attractive forms you envisioned. Get it wrong, and you’re either growing pale, stretched, unhappy plants or – more likely – farming various fascinating species of algae while your wallet weeps.
Let’s dive into the fundamentals of aquarium lighting, separating fact from fiction and providing practical guidance that I wish someone had given me before I spent thousands on equipment that wasn’t right for my setups. First, we need to kill the “watts per gallon” rule. This outdated guideline originated in the era of T12 fluorescent tubes, when lighting technology had some level of standardization.
It suggests that you need a certain number of watts of lighting per gallon of aquarium volume – typically 2-5 watts per gallon, depending on desired light intensity. The problem? Modern lighting technologies have wildly different efficiencies.
A 30-watt LED fixture might produce more usable light for plants than a 100-watt fluorescent system. I learned this lesson when I upgraded from T5HO fluorescents to a high-end LED fixture with half the wattage but dramatically improved plant growth. Watts measure energy consumption, not light output relevant to plants.
What matters instead is PAR – Photosynthetically Active Radiation – which measures the light wavelengths that plants actually use for photosynthesis. Unfortunately, PAR meters cost hundreds of dollars, putting them beyond the budget of most hobbyists (though I eventually broke down and bought one after too many lighting mistakes). For those without access to PAR meters, here’s a rough practical guide I’ve developed through years of trial and error:
Low light (15-30 PAR at substrate): Perfect for Anubias, Java Fern, Mosses, and basic Cryptocoryne varieties.
Algae is manageable, CO2 injection optional, and growth is slow but steady. Medium light (30-50 PAR): Supports a wider range of plants including most stem plants, though red coloration will be limited. CO2 becomes increasingly beneficial but may not be absolutely necessary with careful fertilization and maintenance.
High light (50+ PAR): Required for demanding plants, especially for bringing out red coloration in species like Rotala, Ludwigia, and Alternanthera. CO2 injection becomes essentially mandatory, as does consistent fertilization and maintenance. I once tried growing demanding high-light plants under insufficient lighting, convinced I could overcome the limitation with extra fertilization and CO2.
The plants survived but never thrived, stretching toward the light source and remaining stubbornly green despite being species known for vibrant red coloration. Eventually, I accepted reality and upgraded my lighting – the transformation was dramatic, with the same plants developing compact growth and rich red hues within weeks. The balance between light, CO2, and nutrients is absolutely critical.
I think of these as the three legs of a stool – if one is significantly shorter or longer than the others, the whole system becomes unstable. This relationship explains why increasing light without corresponding increases in CO2 and nutrients invariably leads to algae problems; you’ve created an imbalance that favors algae over higher plants. My worst lighting disaster happened when I upgraded to a high-powered LED fixture but maintained the same CO2 and fertilization routine I’d been using with my previous lower-intensity light.
Within weeks, I was fighting multiple types of algae – hair algae draped across my hardscape like decorative garlands, spot algae dotting plant leaves, and a particularly tenacious black brush algae that required hydrogen peroxide treatments to eliminate. It took months to regain balance, and I eventually had to reduce my lighting intensity until I could upgrade my CO2 system. Light distribution matters as much as intensity.
Even the most powerful fixture won’t help plants in shadowed areas. I learned this when setting up a tank with elaborate hardscape that created significant shadowed zones. Despite having ample light overall, plants in the shadowed areas stretched and struggled.
I now use multiple smaller fixtures on larger tanks to ensure even coverage, or carefully plan plant placement based on the light distribution pattern. Color temperature influences both plant growth and aesthetic appearance. Most planted tank enthusiasts prefer fixtures in the 6500-7000K range, which provides a crisp, slightly cool white light that enhances greens while still showing other colors accurately.
I’ve experimented with everything from 5000K (too yellow for my taste) to 10000K (too blue, making the tank look sterile). The most unusual lighting setup I tried involved RGB LEDs that allowed complete color customization. I spent days fine-tuning the perfect blend, only to discover that what looked perfect to my eye wasn’t providing the spectrum my plants needed.
They grew, but not vigorously, teaching me that aesthetic preferences sometimes need to be balanced against biological requirements. Duration of lighting is just as important as intensity. When I first started keeping planted tanks, I assumed more hours meant more growth, running lights for 12+ hours daily.
The result? Algae. Lots of it.
I’ve since learned that most tanks thrive with 8-10 hours of light daily, and I often use a “midday burst” approach where intensity peaks for 4-6 hours in the middle of the photoperiod but remains lower during morning and evening hours. I once experimented with a split photoperiod – 4 hours on, 4 hours off, 4 hours on again – based on a theory that this would limit algae growth while still providing adequate light for plants. The results were inconclusive for algae control, but my tank viewing enjoyment definitely suffered with the lights off during evening hours when I was actually home to enjoy the tank.
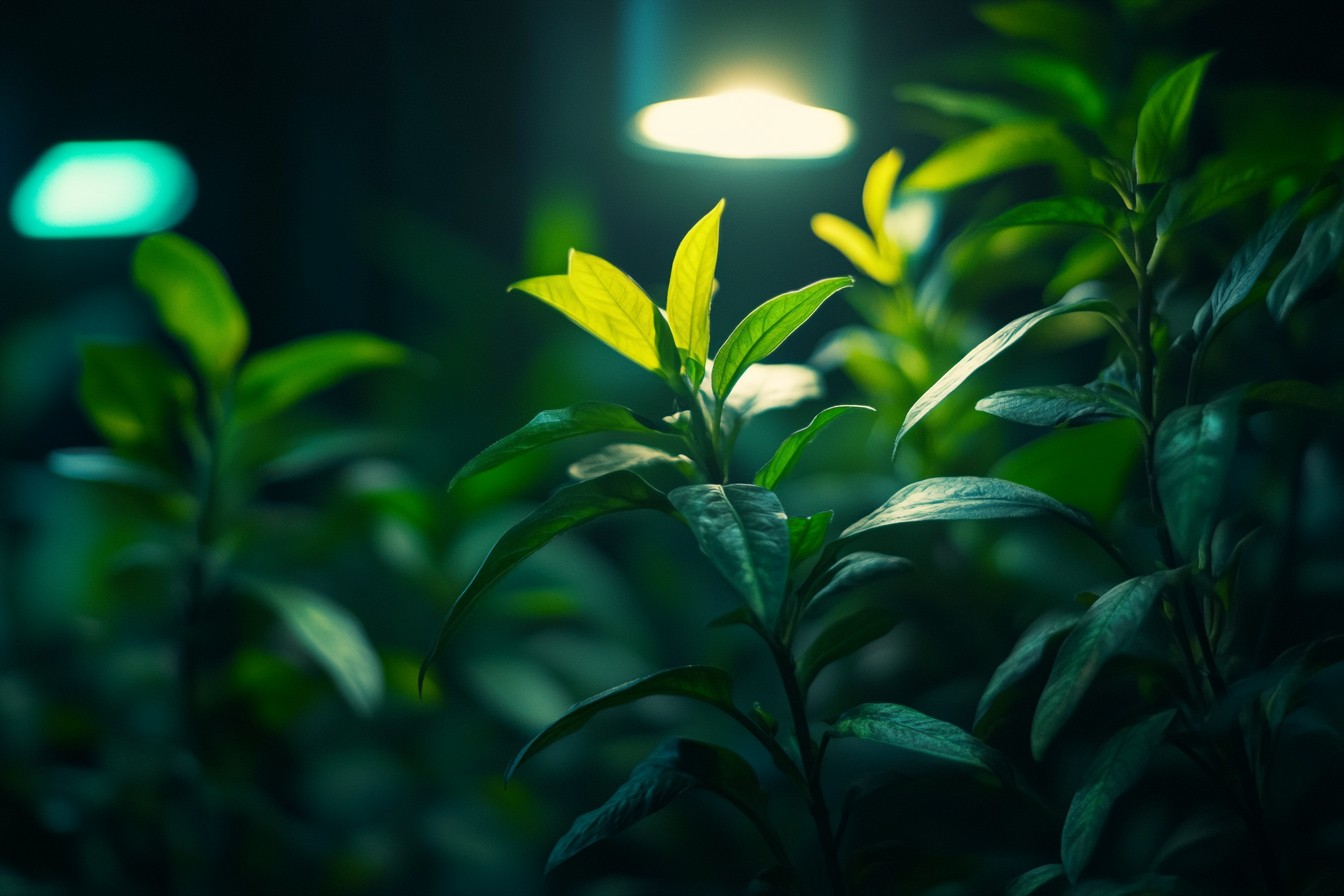
Smart controllers and programmable lights have revolutionized my approach to aquarium lighting. Being able to simulate sunrise and sunset, adjust intensity throughout the day, and in some cases even change color temperature has both improved plant growth and enhanced the viewing experience. My current favorite setup gradually shifts from warmer morning light to crisp midday illumination, then to a slightly reddish sunset mode before shutting off for the night.
The first programmable fixture I purchased cost more than the tank itself, prompting my partner to question my sanity. “It’s just a fish tank light,” she said. I launched into a passionate explanation of PAR values, spectrum analysis, and photoperiod optimization until her eyes glazed over.
Now she just nods when packages from aquarium suppliers arrive. Different tank styles require different lighting approaches. A shallow, open iwagumi layout needs less intense lighting to achieve the same PAR at substrate level compared to a deep tank with floating plants that block light.
I made this mistake when I transferred lighting from a 12-inch tall nano cube to a 24-inch deep standard tank, expecting similar results. The plants near the substrate in the deeper tank received maybe 25% of the light intensity they needed. For those just starting out, let me offer some practical guidelines based on my many, many mistakes:
- Match your lighting to your goals and the plants you want to keep, not the other way around.If you’re not prepared to invest in high-end lighting, CO2, and consistent fertilization, choose plants that will thrive in lower light.
- When in doubt, start with less light intensity and increase gradually. It’s much easier to increase lighting than to fight back an algae bloom from too much light.
- Invest in a timer at minimum, and ideally a fixture with built-in programmability. Consistent photoperiod is crucial for plant health and algae prevention.
- Consider the height of your tank and light spread when selecting fixtures.A light that works perfectly on a standard 55-gallon may be inadequate for a 75-gallon with the same footprint but greater depth.
- Research the specific needs of your chosen plants. “Low light” and “high light” are relative terms, and individual species have different requirements.
Let’s talk about specific lighting technologies, as each has distinct advantages and challenges:
T5HO fluorescent lighting was my go-to for years before LEDs became affordable and effective. The advantages include excellent light spread, reasonable energy efficiency, and the ability to customize spectrum by mixing tube types.
The downsides include heat generation, the need to replace bulbs regularly as they lose intensity, and bulkier fixtures. My most successful T5HO setup used a mixture of full-spectrum, pink plant-growth, and cool white tubes that created both excellent growing conditions and a visually pleasing display. The challenge was always the heat – during summer months, I had to supplement with additional cooling to prevent tank temperature from climbing too high.
Modern LED fixtures have largely replaced fluorescents in my setups. The benefits include energy efficiency, longevity, the ability to control intensity, and in higher-end fixtures, programmable spectrum control. Potential drawbacks include higher initial cost, more concentrated light spread (which can create spotlighting effects), and significant variation in quality between brands.
I learned about LED quality variation the hard way, purchasing an inexpensive fixture that claimed identical specifications to a premium brand that cost three times as much. The difference in actual performance was dramatic – plants under the cheap light stretched and suffered despite the claimed output being sufficient. I now research extensively and, when possible, try to see lights in action before purchasing.
For those on tight budgets, standard LED flood lights from hardware stores can work surprisingly well for planted tanks. I’ve created several effective budget setups using 6500K LED flood lights mounted in clamp fixtures above the tank. The aesthetics leave something to be desired, but the plants don’t seem to mind.
My most unusual lighting experiment involved supplementing a standard planted tank fixture with red and blue horticultural LEDs designed for terrestrial plants. The tank looked like a psychedelic nightclub, but certain plants responded with extraordinary color development and growth rates. I ultimately couldn’t live with the unnatural appearance, but it was an interesting demonstration of how specific light wavelengths affect plant development.


